This post may contain affiliate links. Read the full disclosure here.
There’s something absolutely magical about vintage Christmas window painting that takes me right back to my childhood! Every time I see those classic painted windows with their retro designs and old-fashioned charm, I’m reminded of simpler times when holiday decorations were handmade with love.
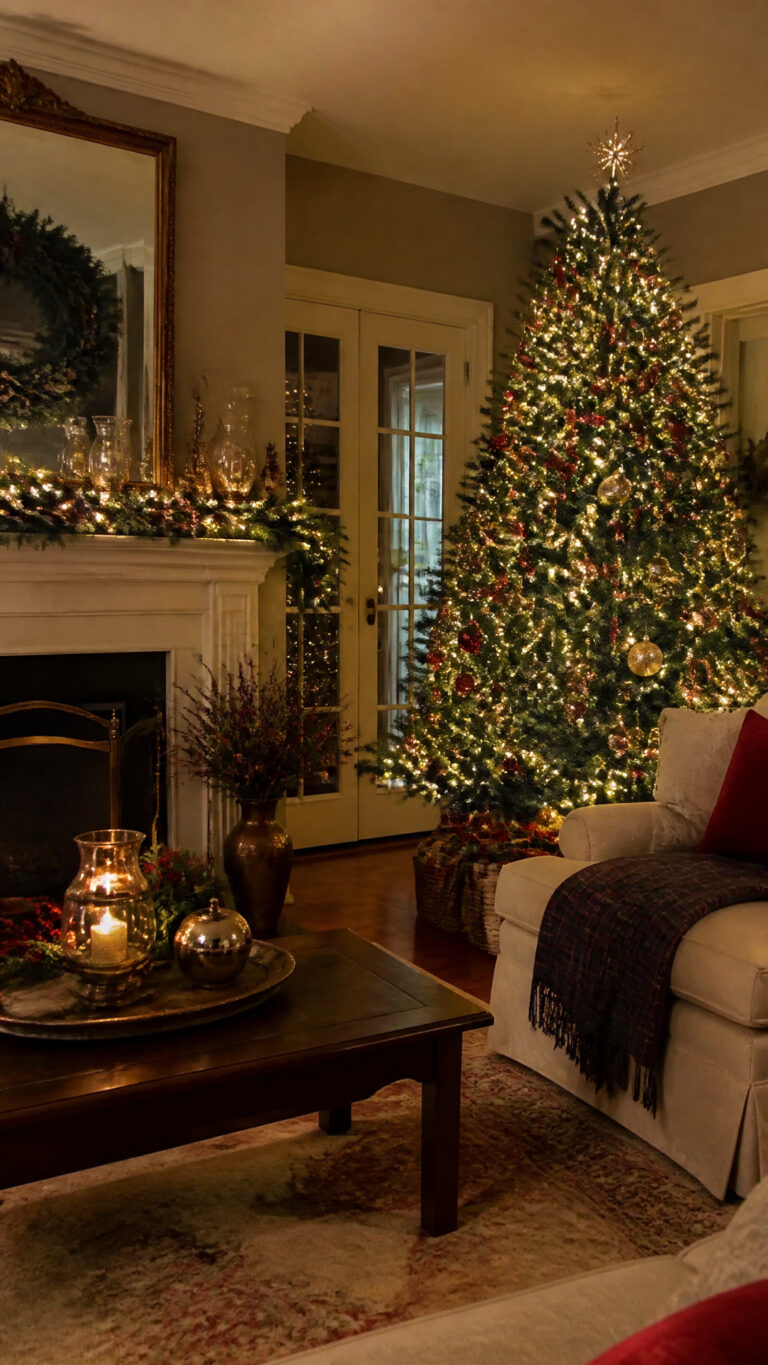
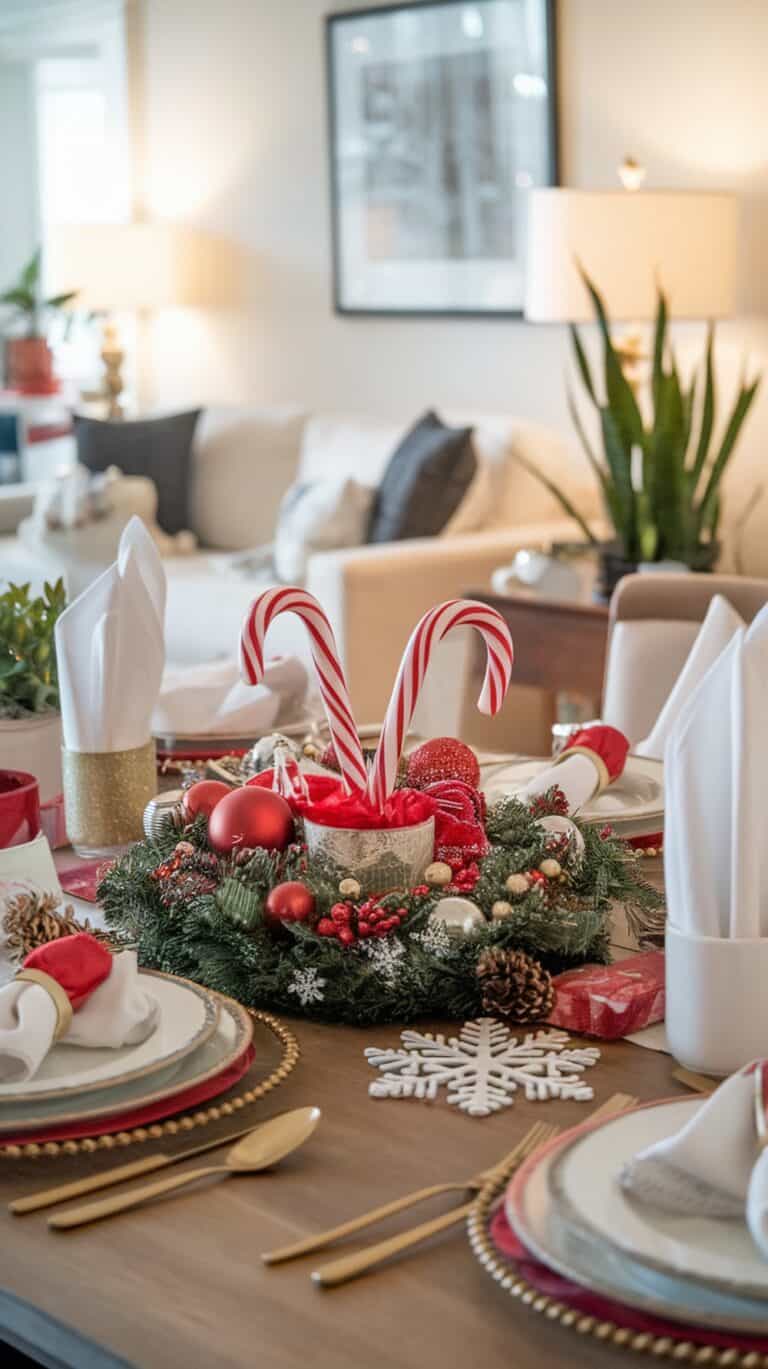
Pair your hand-painted windows with more nostalgic vintage Christmas decor to create a holiday home that feels straight out of another era!
Now that I have three boys of my own, I’m bringing back this beautiful tradition and creating our own nostalgic holiday displays!
Painting your windows with vintage-inspired Christmas scenes is such a fun family activity that doesn’t break the bank! The best part is watching my boys’ faces light up as we transform our ordinary windows into festive works of art. Whether you’re going for a 1950s diner vibe or classic Victorian elegance, vintage Christmas window painting adds that special touch of nostalgia that makes the holidays feel extra cozy and memorable!
Classic Santa and Reindeer Scenes
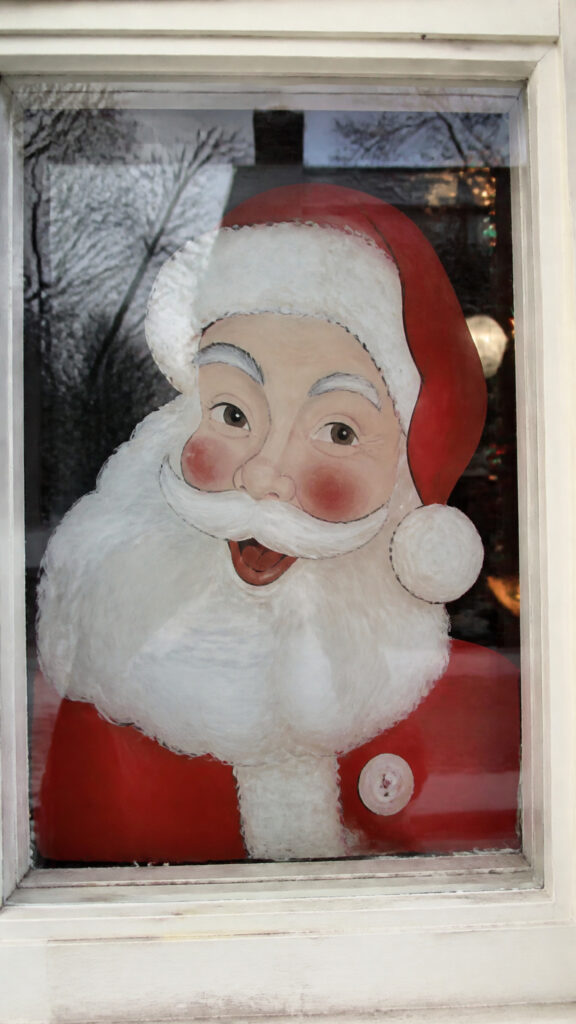




Nothing says vintage Christmas quite like a jolly old Santa Claus painted on your front window! I absolutely love the retro Santa designs from the 1940s and 50s, with their rosy cheeks, simple lines, and that unmistakable charm. When I painted our first Santa last year, my middle son kept insisting we add extra reindeer because “Rudolph needs all his friends, Mom!”
For an authentic vintage look, stick with the classic color palette of red, white, and soft pastels. The old-fashioned Santas had such character with their round bellies, simple belts, and those sweet rosy cheeks! You can create a beautiful scene with Santa in his sleigh being pulled by prancing reindeer across your window. The silhouette style works wonderfully too – just paint the outlines in white against your window for that classic shadow-box effect!
Here are some vintage Santa design ideas that work perfectly:
- Santa’s face in a circular frame with holly berries
- Full-body Santa waving with his toy sack
- Santa climbing down a chimney
- Reindeer in mid-leap with jingle bells
- Santa’s sleigh loaded with wrapped presents
The beauty of vintage Christmas window painting is that imperfections actually add to the charm! My boys love helping with the easier parts like dots for snow or filling in Santa’s suit, and honestly, their wobbly lines make it feel even more authentic and homemade!
Retro Snowflakes and Winter Wonderland Designs
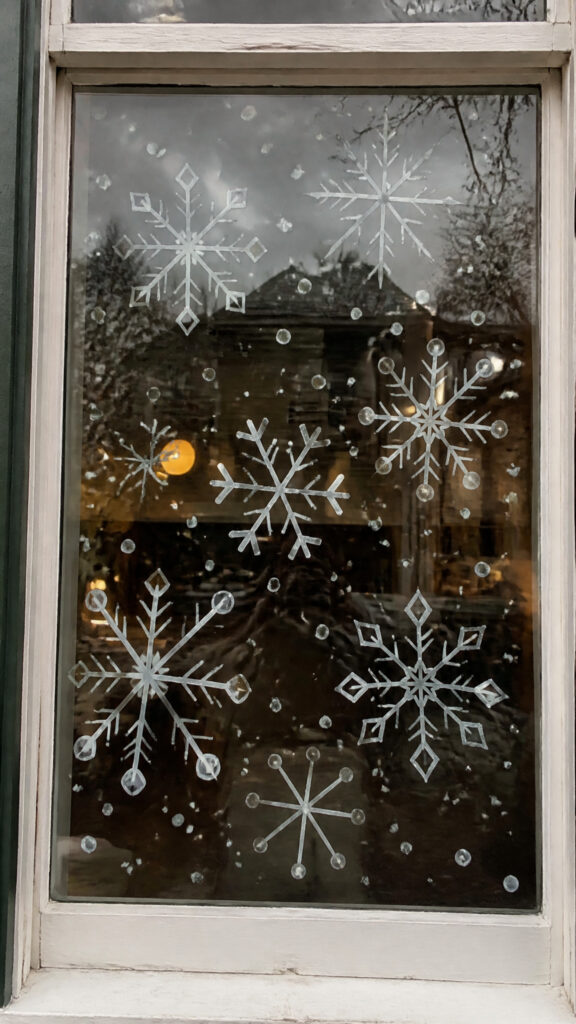
Snowflakes are my absolute go-to for vintage Christmas window painting because they’re forgiving, gorgeous, and the boys can actually help without me stressing about perfection! The retro snowflake designs from mid-century Christmas decorations are so much simpler than the intricate ones we see today, which makes them perfect for busy moms like us!
I love creating a whole winter wonderland scene across our living room windows using various sizes of vintage-style snowflakes. The key is to use that classic white tempera paint or window markers to create those geometric, symmetrical designs that were so popular in the 1960s. Mix larger statement snowflakes with smaller ones scattered throughout, and you’ve got instant magic!
For an authentic vintage feel, try these classic snowflake patterns:
- Simple six-pointed stars with dots at each tip
- Geometric snowflakes with square and diamond shapes
- Starburst designs with straight lines radiating outward
- Layered snowflakes with circles and points
- Retro atomic-age inspired angular snowflakes
One trick I learned is to add small dots around your snowflakes to create that falling snow effect! My youngest loves being in charge of the “snow dots,” and he goes absolutely wild with them. You can also create a border of snowflakes along the top and bottom of your windows, or concentrate them in the corners for a frame effect. The vintage approach was often about repetition and pattern, so don’t be afraid to use the same simple design multiple times!
Old-Fashioned Candles and Holiday Greetings
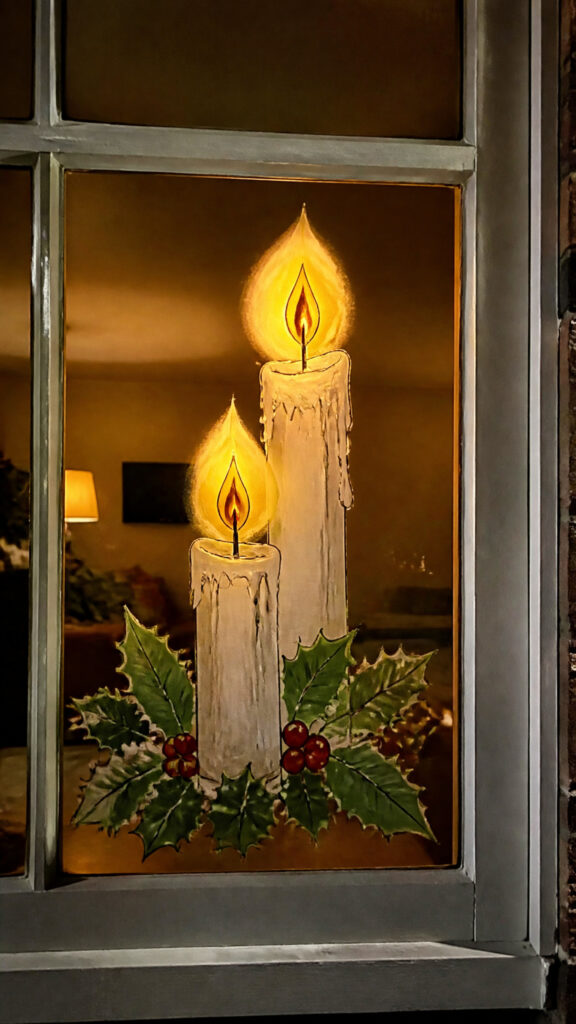
There’s something so warm and welcoming about vintage candle designs painted on windows! These were hugely popular in the 1950s and 60s, and they create such a cozy, inviting glow when you have actual lights behind them in your home. I painted tall taper candles on our dining room windows last Christmas, and our neighbors told us they looked forward to seeing them lit up every evening!
The classic vintage candle design is beautifully simple – tall, slender candles with gentle drips down the sides, a glowing flame on top, and often a sprig of holly at the base. You can paint them in traditional red or white, or go with that gorgeous vintage gold color that was so popular! I like to add a little yellow or orange around the flame to make it look like it’s really glowing.
Pair your candles with old-fashioned holiday greetings for extra vintage charm:
- “Merry Christmas” in classic script lettering
- “Season’s Greetings” in block letters
- “Peace on Earth” with decorative flourishes
- “Noel” in elegant vintage fonts
- “Happy Holidays” with holly accents
When it comes to vintage Christmas window painting with text, the fonts matter so much! Look for inspiration from old Christmas cards and advertisements from the 1940s through 1960s. Those chunky, rounded letters or elegant scripts are what make the designs feel authentically retro. My middle son loves tracing the letters while I do the fancy parts – it keeps him busy and involved!
Nostalgic Christmas Characters and Scenes
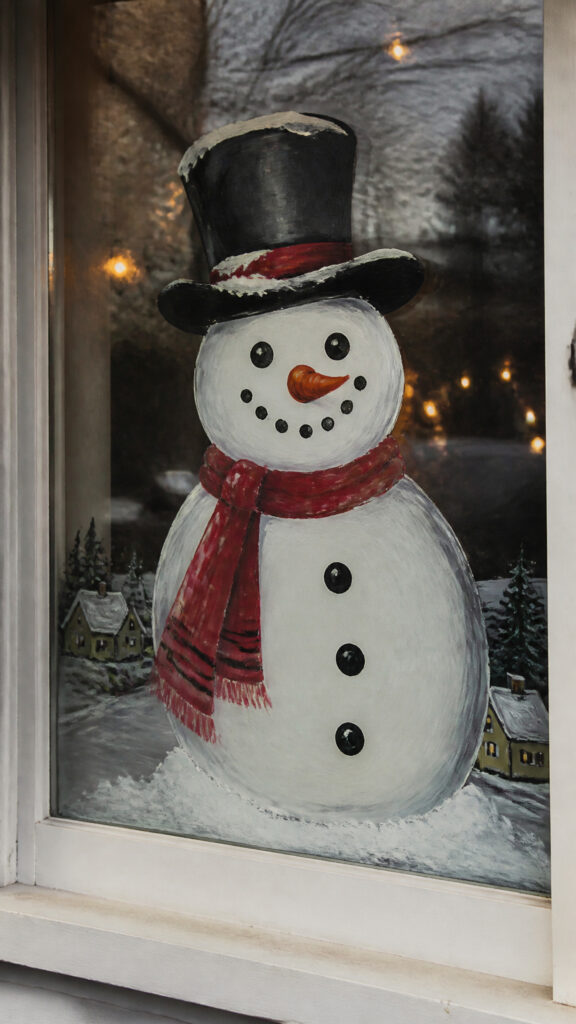
Oh my goodness, the vintage Christmas characters are just the cutest thing ever! I’m talking about those adorable retro snowmen with their coal button eyes, simple carrot noses, and classic top hats. Or those sweet little angels with their simple robes and halos that were everywhere in the 1960s! These characters have so much personality despite their simple designs, and that’s exactly what makes them perfect for window painting!
Last year, I created a whole village scene across our front windows with a vintage snowman, a Christmas tree, and a little church with a steeple. My boys named the snowman “Frosty Fred” and insisted he needed a family, so we ended up adding two more snowmen! The beauty of these nostalgic designs is that they tell a story and create that magical Christmas feeling we all remember from childhood.
Here are some classic vintage character ideas that work wonderfully:
- Choir children in old-fashioned winter coats and scarves
- Simple snowmen with broom and pipe
- Angels with flowing robes and star wands
- Vintage-style Christmas trees with simple ornaments
- Little churches or houses with snow on the roofs
- Carolers in Victorian-era clothing
- Toy soldiers in classic nutcracker style
The key to nailing the vintage look is keeping the designs simple and slightly stylized rather than realistic! Think about those old Christmas cards and how the illustrations were charming but not detailed. Use basic shapes, limit your color palette, and don’t stress about making everything perfect. The slightly naive, handmade quality is actually what makes vintage Christmas window painting so special and nostalgic!
Vintage Ornament and Garland Borders
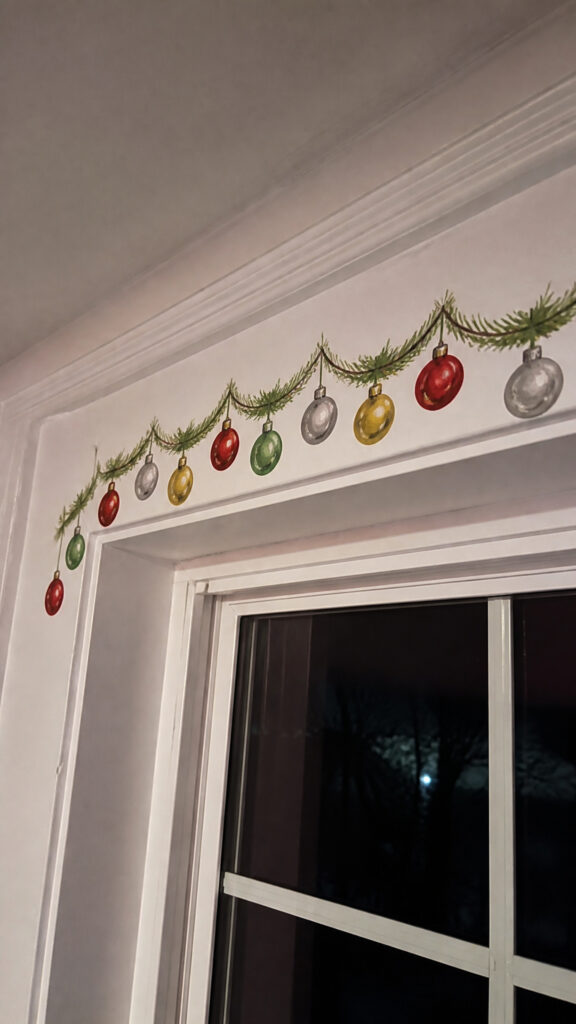
Creating borders with vintage-style ornaments and garland is such an easy way to frame your windows and add that retro Christmas charm! I love painting simple round ornaments along the top of our windows with little painted “strings” connecting them like they’re hanging from garland. It’s such a classic look that instantly transforms any window into a festive display!
The vintage ornament designs were so much simpler than what we see today – just round balls in solid colors with maybe a simple stripe or star pattern. The classic color combinations were red and green, silver and blue, or gold and white. I usually paint mine in those traditional Shiny Brite colors that were so popular in the 1950s and 60s – you know, those gorgeous jewel tones!
Try these vintage-inspired border ideas:
- String of round ornaments across the top of windows
- Swooping garland with simple pine needle designs
- Alternating ornaments and bells along window frames
- Candy cane stripes bordering the window edges
- Holly and berry garland wrapping around windows
- Simple popcorn and cranberry string designs
For the garland, keep it simple with gentle swoops and basic evergreen shapes! The vintage style wasn’t about intricate detail – it was about creating that festive feeling with clean, recognizable designs. I like to add little dots of “snow” on the garland and simple highlights on the ornaments to make them look shiny. My boys fight over who gets to add the ornament hooks and strings, so I’ve learned to assign each of them their own section of the window!
Tips and Techniques for Perfect Vintage Window Painting
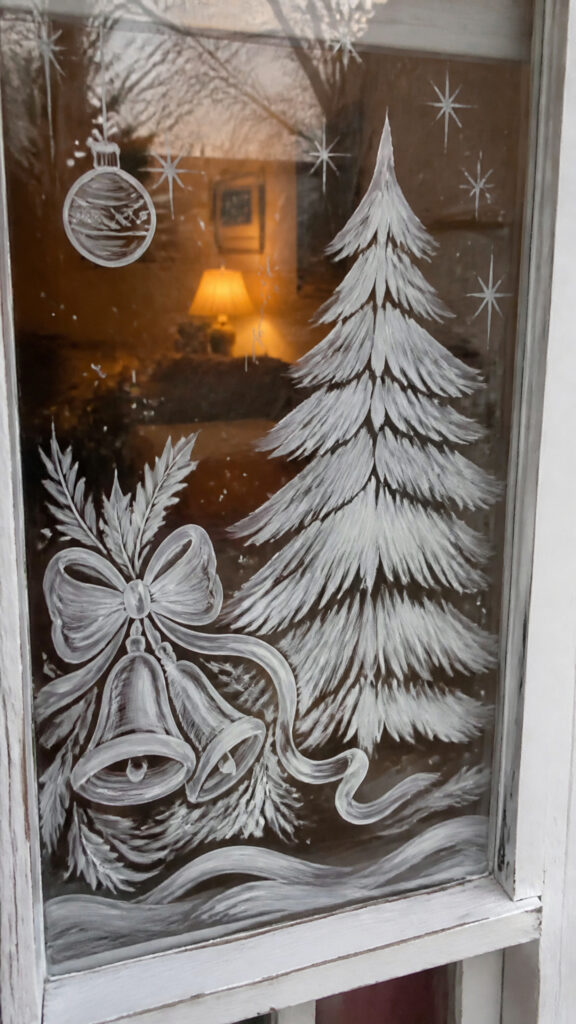
Okay moms, let me share all my best tips for vintage Christmas window painting because I’ve definitely learned some things through trial and error! First and most important – use the right paint! I always use tempera paint or special window markers because they’re easy to apply and, praise the Lord, they wash off easily when the holidays are over! Trust me, you do NOT want to use permanent paint on your windows!
Before you start painting, clean your windows really well with glass cleaner and let them dry completely. I learned this the hard way when my first attempt looked streaky and weird! For the actual painting, I like to sketch my design lightly on the window first using a dry-erase marker or chalk pencil. This way, I can adjust things before committing to paint, which is especially helpful when my boys want to “help” and I need to redirect their creative ideas!
Here are my tried-and-true techniques for success:
- Use foam brushes or sponges for filling in large areas
- Keep cotton swabs handy for fixing mistakes immediately
- Work from top to bottom to avoid smudging
- Let each color dry before adding another layer
- Use painter’s tape for straight lines and borders
- Keep a damp cloth nearby for quick cleanups
- Paint from inside the house for easier access
For that authentic vintage look, embrace imperfection! The hand-painted quality is what makes it special. Slightly wobbly lines and uneven edges actually add to the nostalgic charm! I also love mixing in some glitter paint or adding small rhinestones for a little extra sparkle – very vintage! And here’s a mom tip: do the detailed work during naptime or after bedtime, and save the easy filling-in parts for when the kids want to help. Everyone stays happy, and your windows look amazing!
Creating a Complete Vintage Window Display
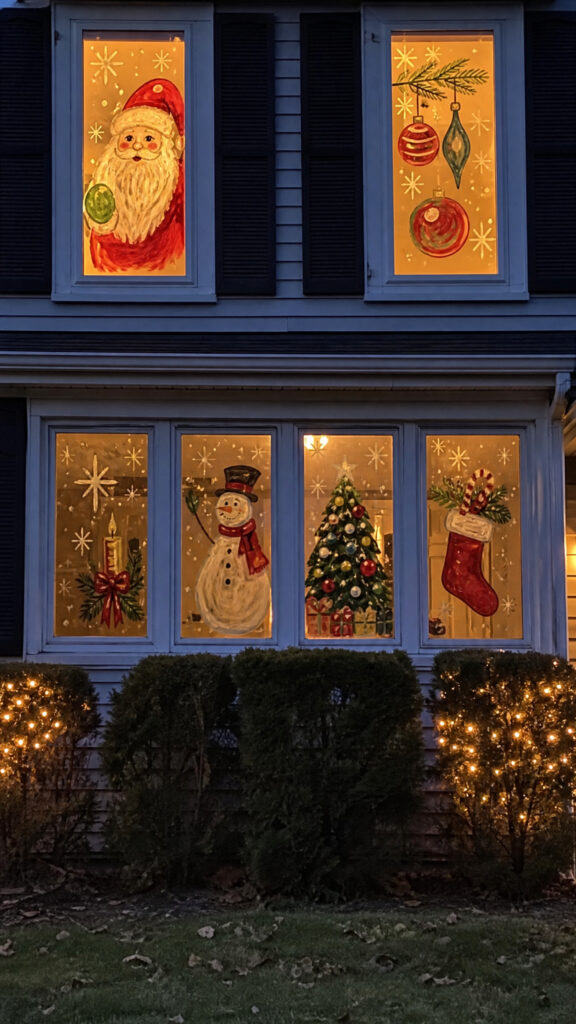
Once you’ve mastered individual vintage Christmas window painting designs, it’s time to think about creating a complete cohesive display! This is where the magic really happens, and your whole house starts to look like something straight out of a classic holiday movie. I love walking up to our house in the evening and seeing all the painted windows glowing – it makes my heart so happy!
The key to a stunning vintage display is coordination without being too matchy-matchy! I like to choose a theme or color scheme and carry it through all the windows. Maybe all your windows feature snowflakes and winter scenes, or perhaps each window tells part of a Christmas story. Last year, we did “Santa’s Journey” with different scenes in each window showing Santa preparing for Christmas Eve!
Here’s how to plan your complete vintage display:
- Start with your most visible windows (front-facing ones first!)
- Choose a consistent color palette for all windows
- Vary the complexity – some detailed, some simple
- Consider the view from both inside and outside
- Add lighting behind windows for nighttime glow
- Balance busy designs with simpler ones
- Include at least one greeting or message window
Don’t forget about the inside view! While we want our windows to look gorgeous from the street, we also spend a lot of time looking at them from inside our homes. I actually love the reverse view just as much because it frames our view of the outside world with all that vintage Christmas charm! Consider adding small battery-operated fairy lights or placing candles on the windowsills to make your vintage Christmas window painting really glow at night. The combination of the painted designs with soft lighting creates the most magical, nostalgic atmosphere that makes our whole house feel like a cozy Christmas wonderland!
Bringing Vintage Christmas Magic to Your Home
Creating vintage Christmas window painting displays has become one of my absolute favorite holiday traditions with my boys! There’s something so special about taking the time to handpaint these nostalgic designs and watching our home transform into a cozy, retro Christmas wonderland. Every time I look at our painted windows, I’m reminded that the best holiday decorations don’t have to be expensive or store-bought – they just need to be made with love!
I hope these vintage Christmas window painting ideas inspire you to start your own nostalgic holiday display this year! Whether you paint just one window or transform your entire house, you’re creating memories and bringing back that beautiful old-fashioned Christmas charm. Grab your paints, gather your little helpers, and let’s make this holiday season extra special with some gorgeous vintage window art! Your neighbors will absolutely love it, and trust me, your kids will remember these creative moments together forever!