This post may contain affiliate links. Read the full disclosure here.
Friendsgiving has become one of my absolute favorite traditions! There’s something so special about gathering with your closest friends before the big family holiday, and let me tell you, after years of hosting with three energetic boys running around, I’ve learned that a stunning friendsgiving charcuterie board is the ultimate party hack. It looks impressive, keeps everyone happy while you’re putting finishing touches on dinner, and honestly, it’s so much easier than you’d think!
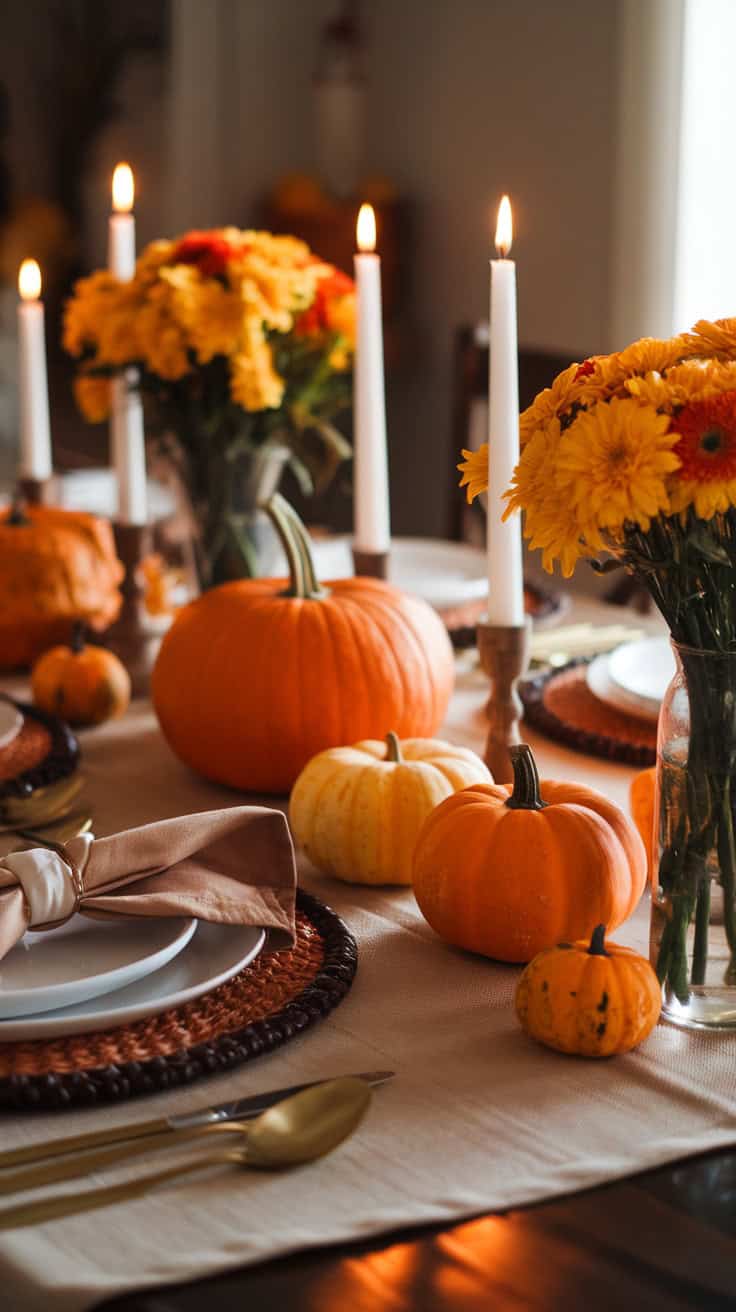
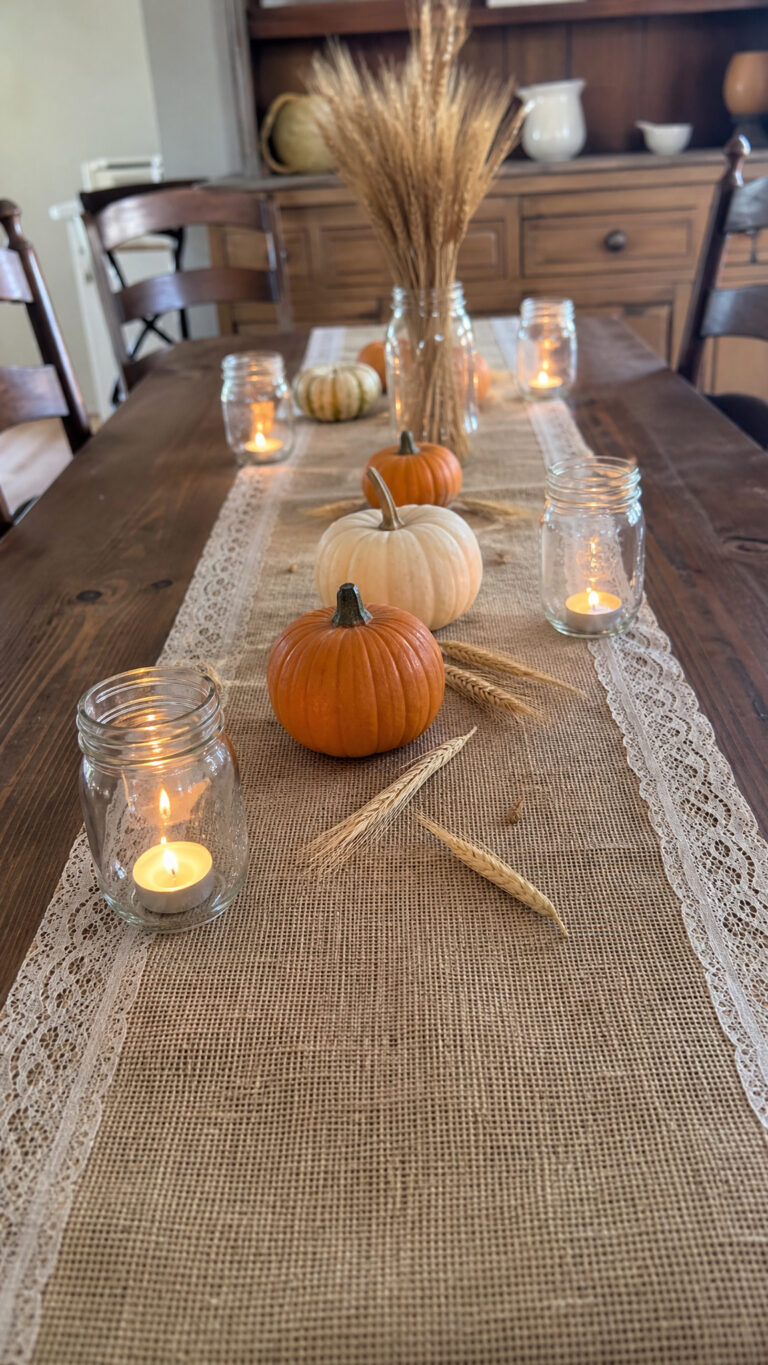
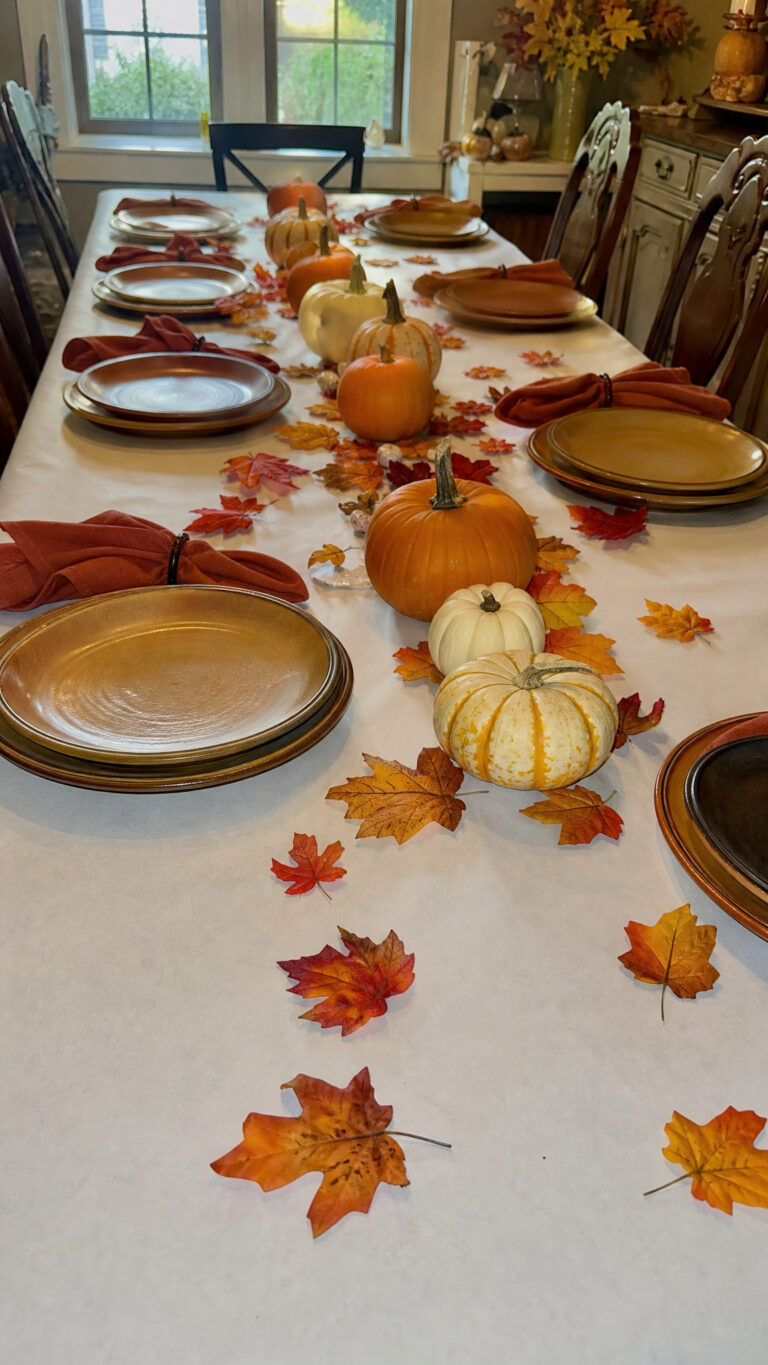
Display your charcuterie board alongside stylish Thanksgiving table decor to create a welcoming setup your guests will love!!
The beauty of a friendsgiving charcuterie board is that it’s completely customizable to your friend group’s tastes and your budget. Whether you’re going fancy or keeping it casual, I’ve got ideas that’ll make your spread the talk of the evening. Plus, these boards are totally forgiving – if my boys can help me assemble them without disaster, anyone can do this!
Start with the Perfect Board Foundation
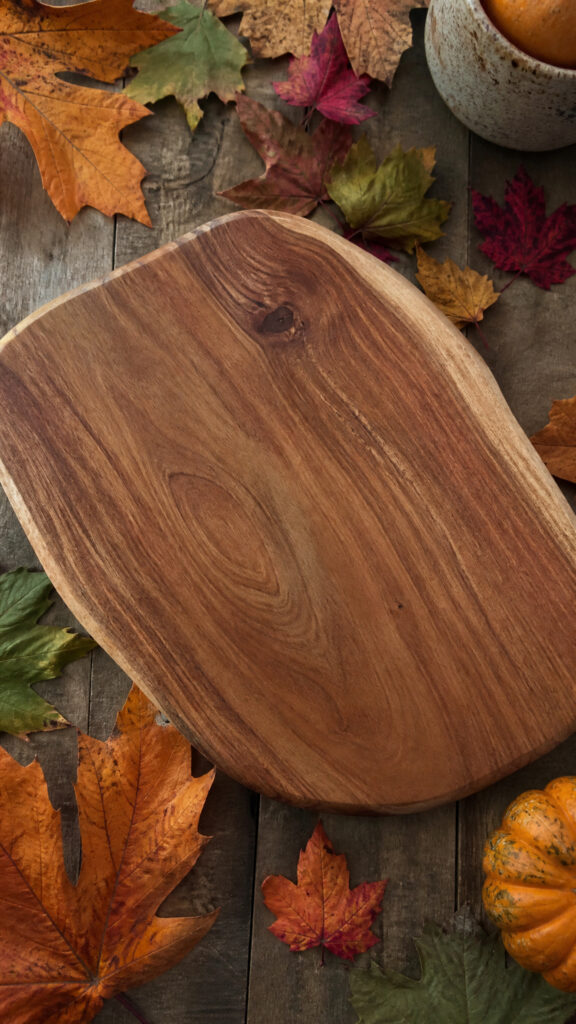


First things first – you need something to build your masterpiece on! I’ve used everything from actual wooden cutting boards to slate tiles from the home improvement store, and honestly, even a large baking sheet covered with parchment paper works beautifully. The key is having enough space for all your goodies without things getting too crowded.
For a typical Friendsgiving gathering of 8-12 people, I recommend a board that’s at least 18 inches long. If you’re hosting a bigger crew, don’t stress about finding one giant board! I actually love creating a “grazing table” effect by using multiple smaller boards arranged together. It looks intentional and Instagram-worthy, plus it makes it easier for everyone to reach everything.
Before you start arranging, think about your color scheme and theme. Fall colors are perfect for Friendsgiving – think deep oranges, burgundies, and golds. I like to keep this in mind when selecting my ingredients because a visually appealing friendsgiving charcuterie board is half the battle! Your friends will be snapping photos before they even take a bite.
Choose Your Cheese Selection Wisely
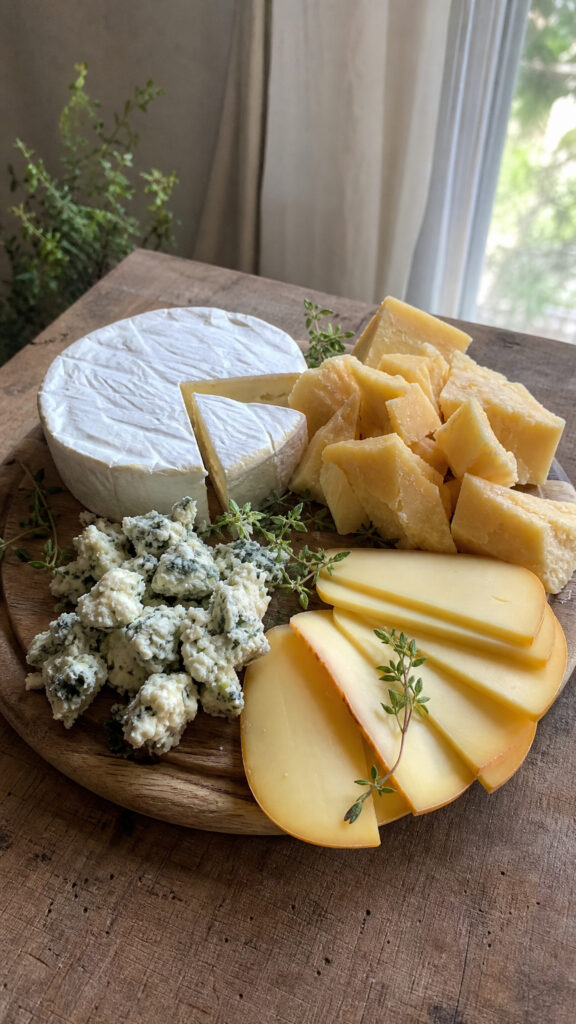
Cheese is the star of any charcuterie board, and for Friendsgiving, I always include at least three to five different varieties. The trick is offering different textures and flavor profiles so there’s something for everyone! I typically go with one soft cheese (like brie or goat cheese), one hard cheese (aged cheddar or manchego), one blue cheese for the adventurous eaters, and at least one crowd-pleaser like a creamy havarti or gouda.
Here’s my mom-tested tip: take your cheese out of the refrigerator about 45 minutes before your guests arrive! Room temperature cheese tastes SO much better, and this is something I learned after serving cold cheese at my first Friendsgiving years ago. The flavors really come alive when cheese isn’t straight from the fridge.
For presentation, I like to pre-slice some of the harder cheeses but leave softer cheeses whole with a small knife nearby. This makes it easier for guests to serve themselves, and let’s be real, when you’re hosting, anything that makes life easier is a win! If you want to get fancy, you can fold thin slices of cheese into quarters or roll them up – it adds visual interest to your friendsgiving charcuterie board without extra effort.
- Soft options: Brie, camembert, goat cheese, burrata
- Hard options: Aged cheddar, manchego, parmesan, asiago
- Semi-soft options: Gouda, havarti, fontina, gruyere
- Bold options: Blue cheese, gorgonzola, aged goat cheese
Add Delicious Meats and Proteins
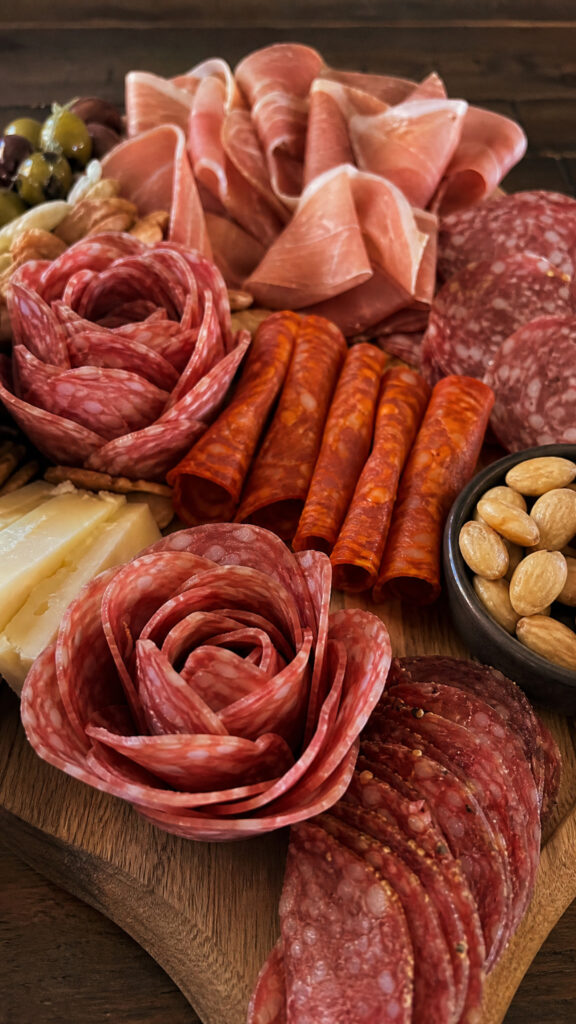
The meat selection is where your friendsgiving charcuterie board really starts coming together! I always include a mix of at least three different cured meats because variety keeps things interesting. Prosciutto is my go-to because it’s universally loved and looks gorgeous when you fold or ruffle it on the board. Salami is another must-have – I usually grab both a regular and a spicy version to keep things interesting.
Don’t forget about other protein options beyond traditional cured meats! Some of my friends are vegetarian, so I always include alternatives like marinated olives, roasted chickpeas, or even some smoked salmon. Honestly, the more options you provide, the happier your guests will be, and it shows you’re thinking about everyone’s preferences.
For presentation, I’ve learned that folding meats in different ways makes your board look professionally done. Try folding salami slices in half and then in half again to create little triangles, or create “salami roses” by overlapping slices in a line and rolling them up. My boys think this is hilarious and sometimes help me with this part – it’s actually pretty fun!
- Classic choices: Prosciutto, salami, pepperoni, soppressata
- Fancy additions: Chorizo, capicola, bresaola, mortadella
- Alternative proteins: Smoked salmon, marinated olives, roasted nuts, hummus
Include Fresh and Dried Fruits
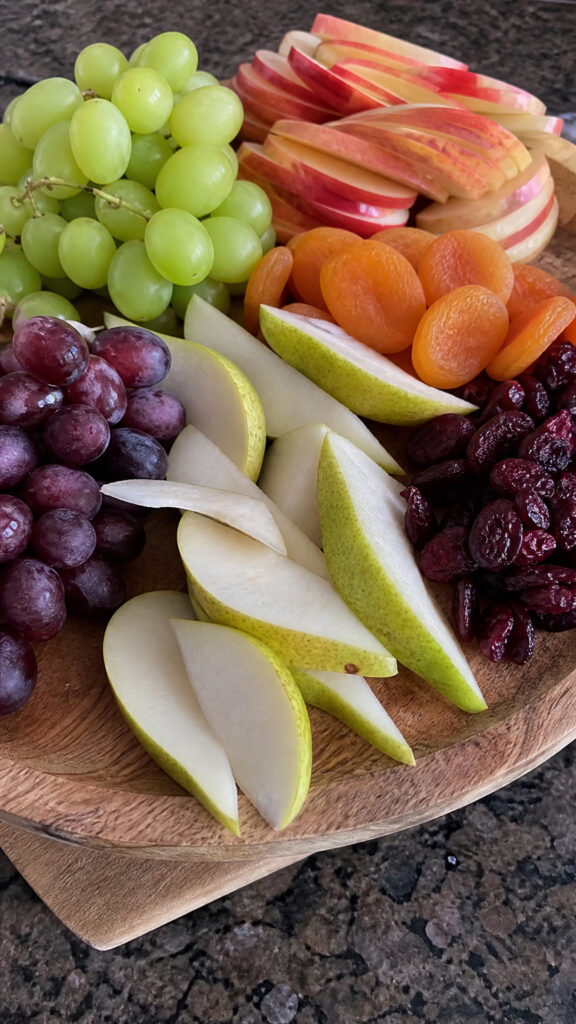
Fruit is absolutely essential for balancing out all those rich, savory flavors on your friendsgiving charcuterie board! Fresh fruit adds beautiful pops of color and provides a refreshing contrast to the cheese and meats. For fall, I love including crisp apple slices (toss them in a little lemon juice so they don’t brown!), juicy pear slices, and fresh figs if I can find them at a reasonable price.
Grapes are my secret weapon because they’re affordable, everyone loves them, and they fill space beautifully! I usually buy both red and green grapes and arrange them in little clusters around the board. They’re also perfect for my boys to snack on while I’m setting everything up, which keeps them out of the rest of my ingredients!
Dried fruits are equally important and honestly, they might be even easier because you can prep them way ahead of time. Dried apricots, cranberries, and figs add chewiness and concentrated sweetness that pairs amazingly with cheese. Plus, they have that gorgeous fall color palette that makes your board look cohesive and seasonal. I like to place them in small piles or scatter them in gaps between other ingredients.
Don’t Forget the Crackers and Bread
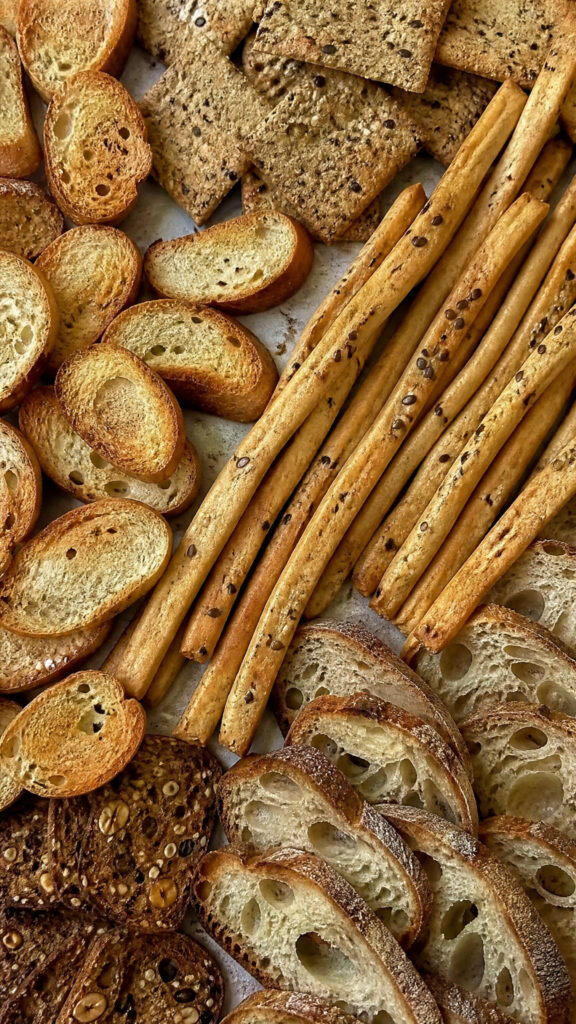
You need vehicles for all that amazing cheese and meat, right? I always include a huge variety of crackers and bread options because this is where you can really accommodate different dietary needs. Regular wheat crackers, gluten-free options, and some fancy seeded crackers give everyone choices. My personal favorite is including some crostini or baguette slices – they’re sturdy enough to hold generous amounts of toppings!
Here’s a time-saving tip that’s saved me so many times: buy pre-sliced baguettes or make your own crostini a day ahead! If you’re making them yourself, just slice a baguette, brush the slices with olive oil, and toast them in the oven at 375°F for about 10 minutes. They stay crispy for days if you store them in an airtight container, which means one less thing to worry about on the day of your party.
For presentation on your friendsgiving charcuterie board, I like to stand some crackers up in rows or fan them out in sections. You can also fill small bowls or glasses with breadsticks for height variation. And honestly? Don’t be afraid to put out way more crackers than you think you’ll need. They always disappear faster than expected, and running out of crackers is a total party foul!
- Cracker varieties: Water crackers, wheat thins, rice crackers, seeded crackers
- Bread options: Baguette slices, crostini, pita chips, breadsticks
- Special touches: Rosemary crackers, fig and olive crisps, everything bagel crackers
Sweet and Savory Additions That Wow
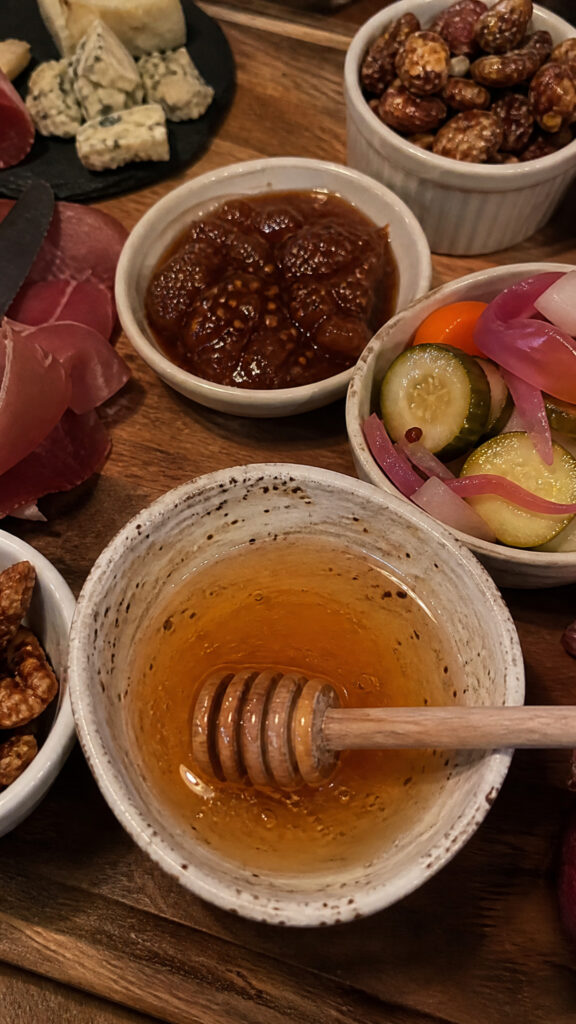
This is where you can really personalize your friendsgiving charcuterie board and make it uniquely yours! The little extras are what transform a good board into an absolutely amazing one. I always include at least two types of jam or honey – fig jam is my absolute favorite for fall because it pairs beautifully with almost every cheese, and a little dish of honey with a honey dipper looks so elegant and inviting.
Nuts are another must-have! They add crunch, they’re filling, and they look gorgeous scattered around the board or piled in small bowls. Candied pecans or walnuts are perfect for Friendsgiving because they have that sweet-savory thing going on that everyone loves. If you have time, making your own candied nuts is super easy and makes your house smell incredible, but store-bought works perfectly too!
Don’t forget about pickled items! Cornichons, pickled onions, or marinated artichoke hearts add that tangy punch that cuts through all the richness. I like to include at least one or two pickled elements because they’re palate cleansers and honestly, some of my friends go crazy for them. Plus, they add visual interest with their bright colors!
- Sweet additions: Fig jam, honey, apricot preserves, cranberry chutney
- Crunchy elements: Candied pecans, roasted almonds, pistachios, walnuts
- Pickled items: Cornichons, pickled onions, marinated artichokes, olives
- Extra touches: Whole grain mustard, grainy mustard, chocolate squares, dark chocolate-covered almonds
Arrange Everything Like a Pro
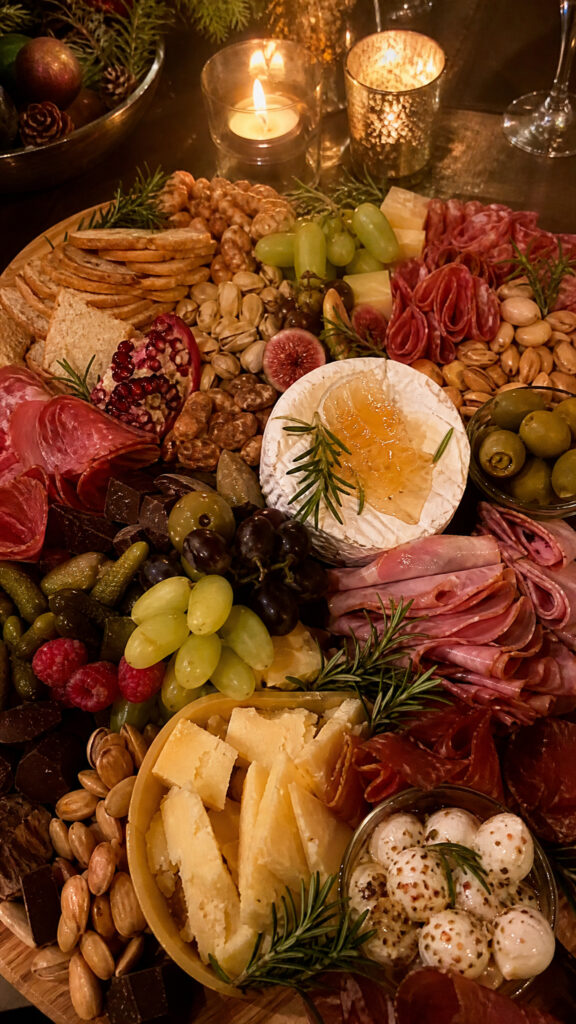
Okay, this is the fun part where everything comes together! I know arranging a friendsgiving charcuterie board can feel intimidating, but I promise it’s easier than it looks. My strategy is to start with the biggest items first – place your cheese and any bowls of jam, honey, or olives on the board first. Space them out so they’re not all clustered together. This creates anchor points that you’ll build around.
Next, add your meats around the cheese. This is where you can get creative with those folds and rolls we talked about earlier! I like to create little sections or groupings rather than mixing everything together randomly. For example, I’ll put prosciutto near the brie, salami near the cheddar, and so on. This makes it easier for guests to create perfect bite combinations.
Now fill in all the gaps with your fruits, nuts, and crackers! This is honestly my favorite part because you get to see the whole thing come together. Tuck grape clusters into empty spaces, scatter nuts around, fan out crackers, and nestle fresh fruit wherever there’s room. The goal is to make the board look abundant and full – you shouldn’t see much of the board surface showing through!
For the finishing touch, add some fresh herbs like rosemary sprigs or thyme scattered around the board. This adds a pop of green and makes everything look fresh and intentional. Sometimes I even add small seasonal touches like tiny pumpkins or autumn leaves around the base of the board for extra fall vibes. Your friends are going to be so impressed!
Make-Ahead Tips for Stress-Free Hosting
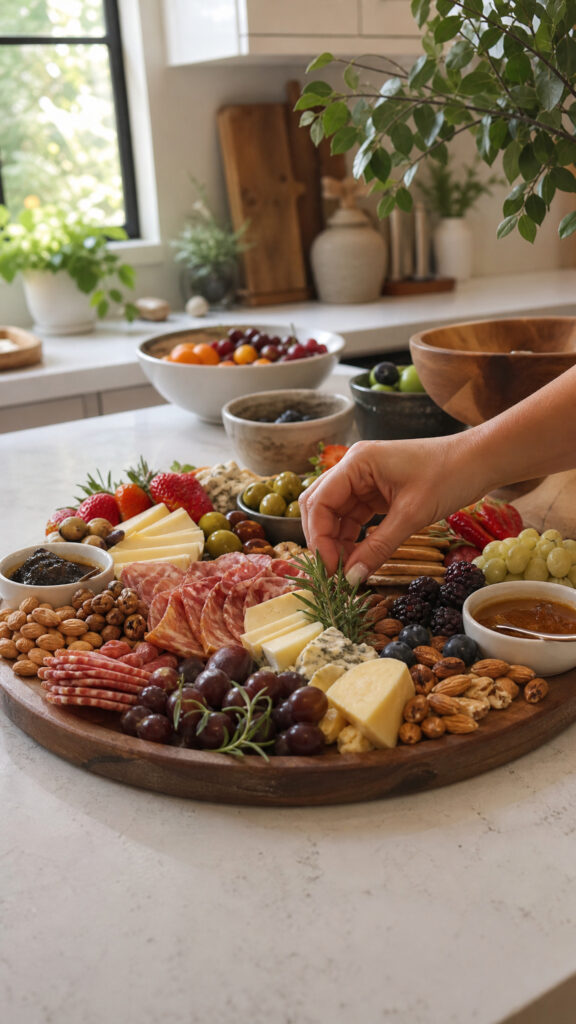
Can I share the biggest lesson I’ve learned from hosting Friendsgiving with three kids running around? Prep ahead whenever possible! You can actually do SO much the day before, which means you’re not frantically assembling your friendsgiving charcuterie board while your first guests are arriving. Trust me, I’ve been there, and it’s not fun!
The night before, you can wash and cut all your fruits (except apples, which brown too quickly), portion out your nuts into small bowls, and arrange your crackers and bread. I even pre-slice my cheeses and store them in airtight containers in the fridge. Some people say you can fully assemble the board ahead of time, but I prefer to do the final assembly the day of because it keeps everything looking fresh.
On the day of your party, give yourself at least an hour to assemble everything without rushing. Put on some music, maybe pour yourself a glass of wine, and enjoy the process! I’ve found that when I’m relaxed about it, the board turns out better because I’m not stressed. Plus, if you have friends who arrive early (there’s always one!), they can help you finish up, and it becomes a fun pre-party activity.
One last tip: take a photo of your finished board before anyone digs in! I can’t tell you how many times I’ve forgotten to do this and regretted it later. Your friendsgiving charcuterie board is going to look amazing, and you’ll want to remember it – plus, it’s great content for your Instagram or to send to friends who couldn’t make it!
Your Friendsgiving Just Got Easier
Creating a show-stopping friendsgiving charcuterie board really doesn’t have to be complicated or stressful! With these ideas and tips, you can put together something that looks professionally done but is actually super manageable, even with kids underfoot. The best part is that everyone loves a good charcuterie board – it’s one of those things that just makes people happy and gets the party started on the right note!
Remember, the most important thing isn’t perfection – it’s gathering with the people you love and being grateful for those friendships. Your friends are coming to see you, not to judge your cheese arrangement! So have fun with it, make it your own, and enjoy every minute of your Friendsgiving celebration. Now go create that amazing board and get ready for all the compliments!