This post may contain affiliate links. Read the full disclosure here.
Setting up a Thanksgiving buffet table has completely changed the way I host our family gatherings, and honestly, I wish I’d discovered this approach years ago! As a mom of three energetic boys who are always hungry and never patient when it comes to food, the traditional sit-down dinner was becoming more stressful than enjoyable. The constant trips back and forth to the kitchen, trying to serve everyone while my own food got cold, and managing the chaos of little hands reaching across the table made me dread the holiday I used to love!
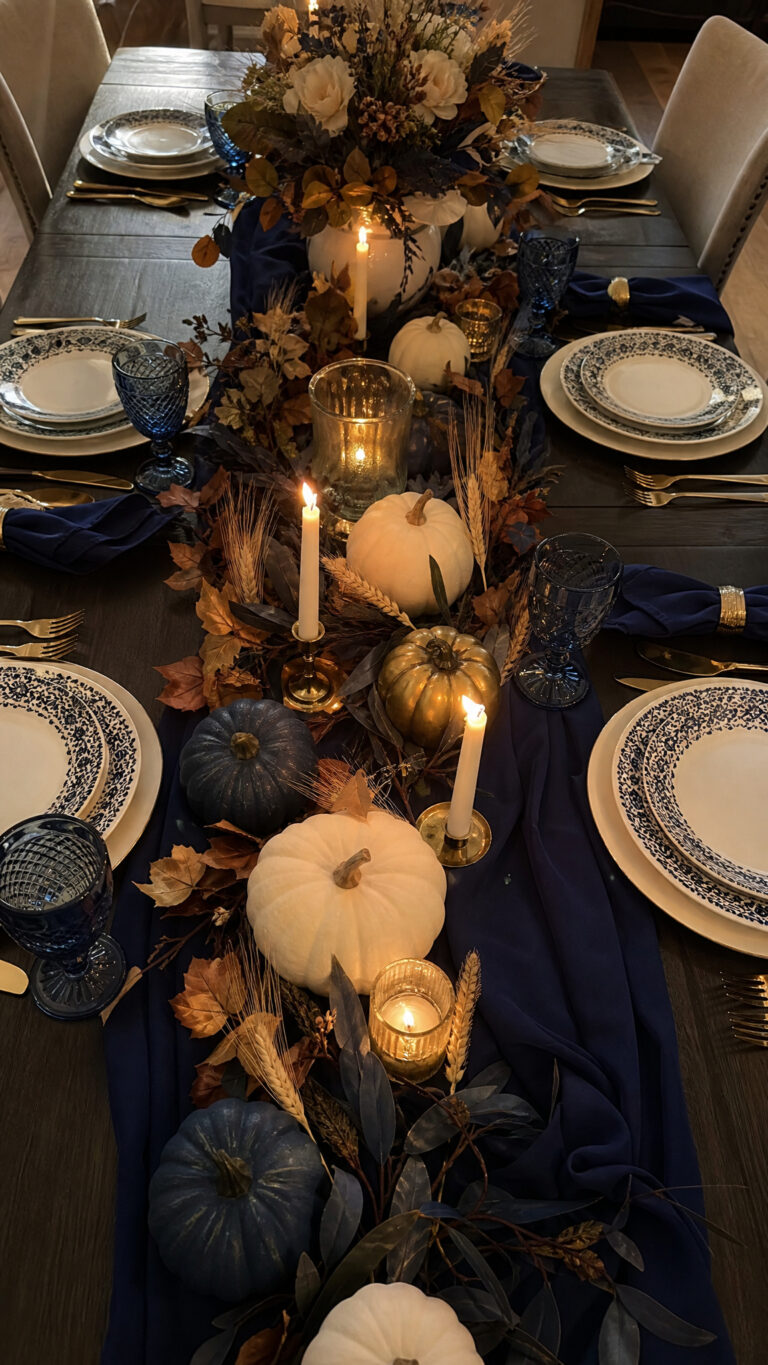
Tie your buffet and dining areas together with inspiration for an elegant Thanksgiving tablescape that gives the entire celebration a coordinated look.
The buffet-style setup has been an absolute game-changer for our Thanksgiving celebrations! Not only does it give everyone the freedom to serve themselves and go back for seconds (or thirds, because growing boys!), but it also takes so much pressure off me as the host. I can set everything up ahead of time, make sure it looks beautiful, and actually sit down to enjoy the meal with my family instead of playing waitress all afternoon. Plus, the kids think it’s so fun to walk through the line and choose exactly what they want, which means fewer battles about trying new foods!
Plan Your Thanksgiving Buffet Table Layout Like a Pro
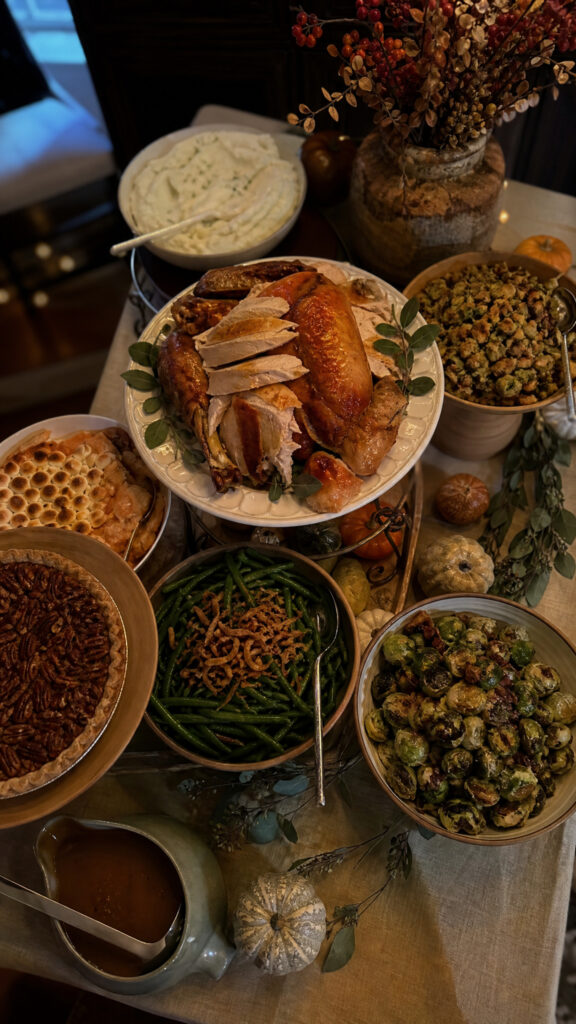

The secret to a successful thanksgiving buffet table starts with smart planning, and trust me, I learned this the hard way after a few chaotic attempts! You want to think about traffic flow first because nothing creates bottlenecks faster than poor placement. I always set up my buffet along a wall or use our kitchen island so people can move in one direction without bumping into each other. With three boys who tend to get impatient when waiting for anything, especially food, this linear approach has saved us from so many potential meltdowns!
Start with plates at the beginning of your buffet line, followed by the main dishes, then sides, and finally utensils and napkins at the end. I know it seems counterintuitive to put silverware last, but here’s why it works: when your hands are already full of a loaded plate, you don’t want to be juggling forks and knives too! I learned this after watching my middle son try to balance everything and nearly drop his entire plate of turkey and mashed potatoes on our carpet.
Consider the height variation too, which makes your thanksgiving buffet table more visually interesting and accessible! I use cake stands, overturned bowls covered with nice cloths, or even sturdy boxes to create different levels. This not only looks amazing in photos but also makes it easier for my youngest to reach some items without me having to help him with every single thing. Pro tip: place the heaviest dishes at the back on raised platforms so they’re visible but not taking up prime real estate at the front of your buffet!
Create Stations for Different Food Categories
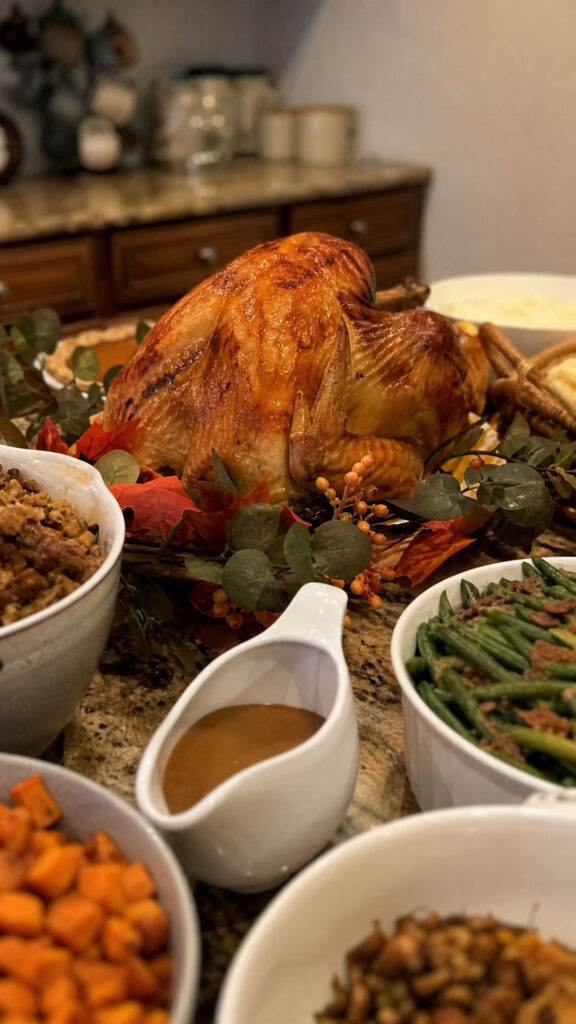
Breaking your thanksgiving buffet table into distinct stations makes serving so much more organized and helps prevent that overwhelming feeling when you’re staring at twenty different dishes! I typically create four main stations: proteins, hot sides, cold sides and salads, and desserts. This separation makes it super clear where everything is, and it also helps with temperature control because you can keep hot foods together and cold foods together.
The protein station is always my centerpiece, and I make it extra special with the turkey as the star! I’ll include any other main proteins here too, like ham or a vegetarian option, along with the gravy and cranberry sauce since those go directly with the meat. My boys always head straight for this section first, which is why I make sure it’s sturdy and can handle their enthusiastic serving techniques!
For the hot sides station, I use chafing dishes or slow cookers to keep everything at the perfect temperature. Mashed potatoes, stuffing, green bean casserole, and sweet potato casserole all live here. The slow cookers are especially great because they keep food warm for hours without drying it out, and I don’t have to worry about constantly checking on things. This means I can actually watch the parade with my kids instead of being stuck in the kitchen!
The cold sides and salads get their own station, which I often set up on a separate table if I have the space. This includes things like cranberry salad, regular salad, dinner rolls, and any cold appetizers. Keeping these separate from the hot foods helps maintain their freshness and crispness. Finally, the dessert station goes on a completely different surface, usually our dining room sideboard, so people can grab dessert whenever they’re ready without disrupting the main meal flow!
Make It Kid-Friendly Without Sacrificing Style
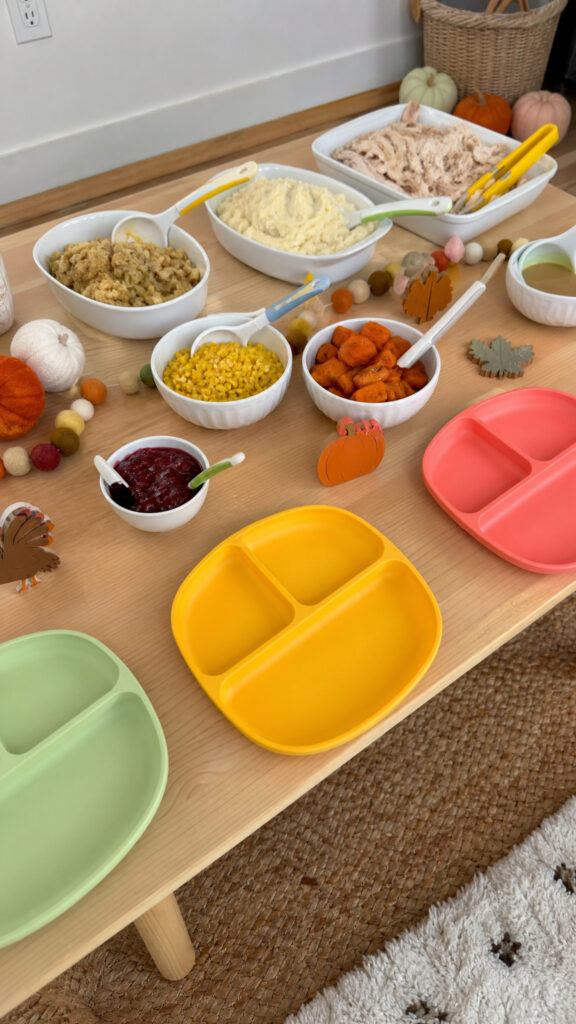
Creating a thanksgiving buffet table that works for kids while still looking gorgeous for the adults is totally possible, and I’ve perfected this balance over the years! The key is thinking about accessibility and safety while maintaining your beautiful aesthetic. I always set up a lower section of the buffet specifically for the kids, using our coffee table or a card table set at their height. This way, my three boys can serve themselves without needing help for every little thing, and I’m not worried about them pulling down hot dishes from up high!
I use kid-friendly serving utensils with shorter handles and put smaller portions in the kid section. Instead of the fancy china gravy boat, I use a small plastic pitcher that my youngest can actually handle without spilling everywhere. The plates in the kids’ area are also their plastic divided plates, which they love because it keeps their foods from touching (a major issue in our house!). This separate setup means the kids feel independent and special, but I’m not stressed about broken dishes or burns!
Another game-changer is labeling everything with cute little tags or place cards! My middle son has some texture sensitivities, so being able to see what’s in each dish before serving himself has reduced dinnertime drama significantly. I use small chalkboard signs or printable labels that match my decor theme, and honestly, the adults appreciate them too because not everyone knows what every casserole contains. Plus, it’s helpful for guests with allergies or dietary restrictions!
I also pre-cut the turkey and any other meats into kid-sized pieces and place them in a separate bowl at the kids’ station. This eliminates the need for sharp knives at their level and makes it so much easier for little hands to serve themselves. My boys feel so grown-up being able to build their own plates, and I feel relieved knowing they’re safe while doing it!
Decorate Your Thanksgiving Buffet Table on a Budget
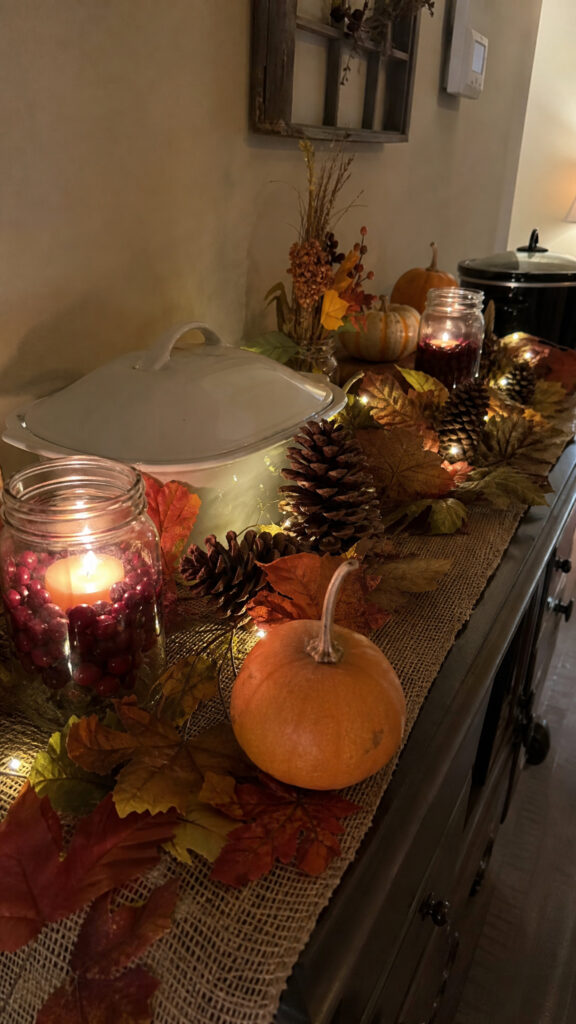
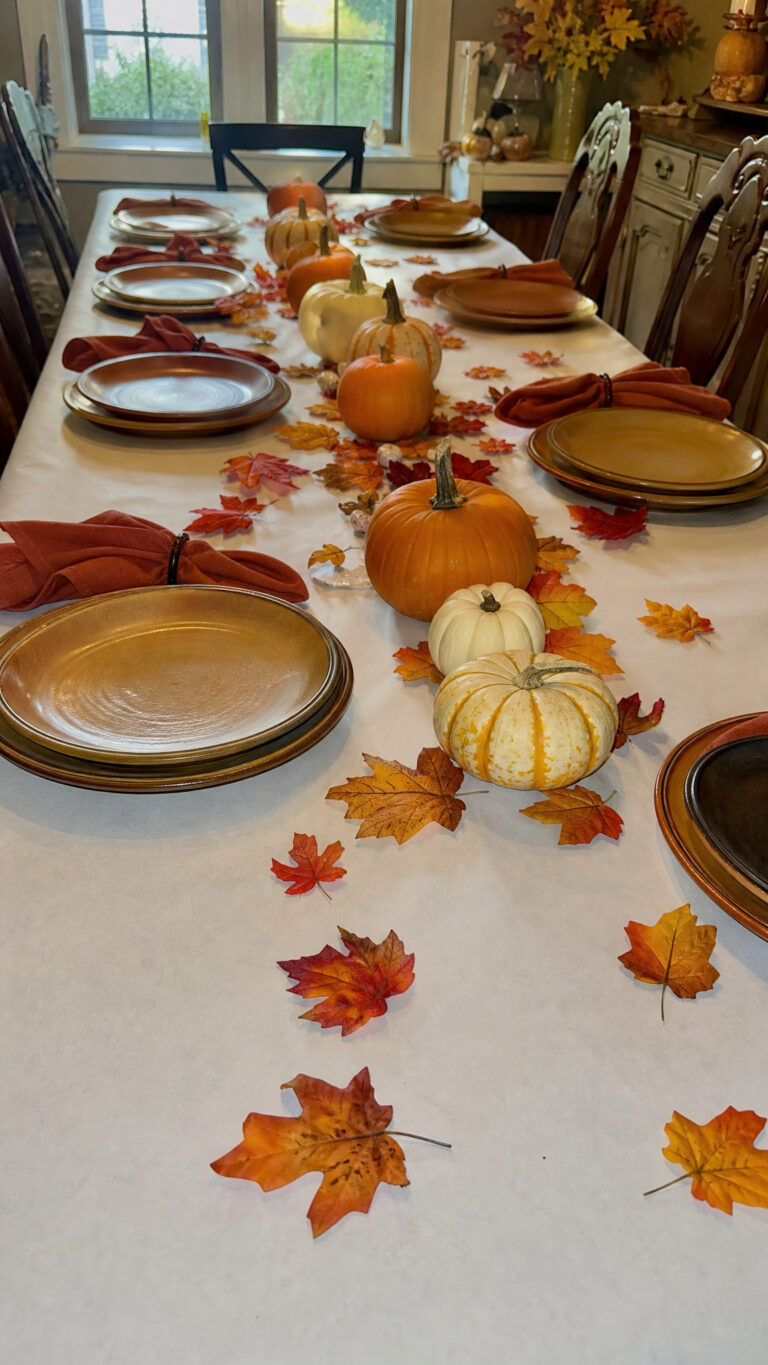
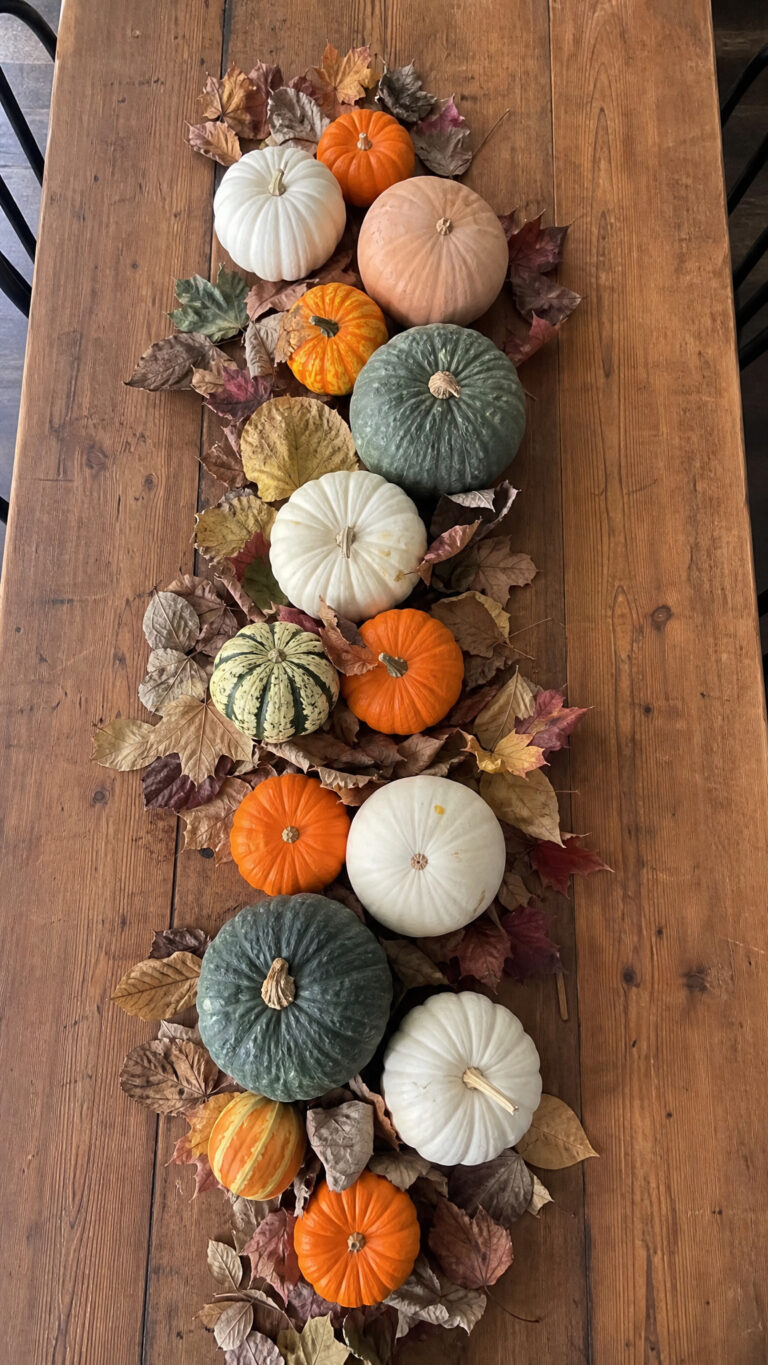
You don’t need to spend a fortune to make your thanksgiving buffet table look absolutely stunning, and I’m living proof of that! With three kids and all the expenses that come with them, I’ve become the queen of budget-friendly decorating. My favorite trick is using natural elements that I can literally find in our backyard or at the grocery store. Branches with fall leaves, pinecones, mini pumpkins, and gourds create such a beautiful autumn atmosphere and cost next to nothing!
I collect glass jars and vases throughout the year from pasta sauce, pickles, and other foods, then remove the labels and use them as candle holders or flower vases for the buffet. Fill them with dried beans, corn kernels, or cranberries, then nestle a candle on top for an inexpensive but gorgeous centerpiece. My boys actually love helping me fill these jars, which turns decorating into a fun family activity rather than another task on my endless to-do list!
Fabric is your best friend when decorating on a budget! I use affordable burlap runners from the craft store as a base for my thanksgiving buffet table, and they instantly make everything look more intentional and pulled together. You can also use cloth napkins as placemats under serving dishes, or drape a pretty fall-colored tablecloth as your foundation. I’ve even used scarves that I already owned to add pops of color and texture, and nobody ever knows they weren’t meant for table decor!
Don’t underestimate the power of lighting either! String lights or battery-operated candles scattered around your buffet create such a warm, inviting glow and they’re super affordable at discount stores. I keep mine in a bin and reuse them year after year for different holidays. The soft lighting also hides any imperfections in your setup and makes everything look more magical, which is perfect when you’re hosting with kids and things inevitably get a little messy!
Keep Food Safe and Fresh Throughout the Day
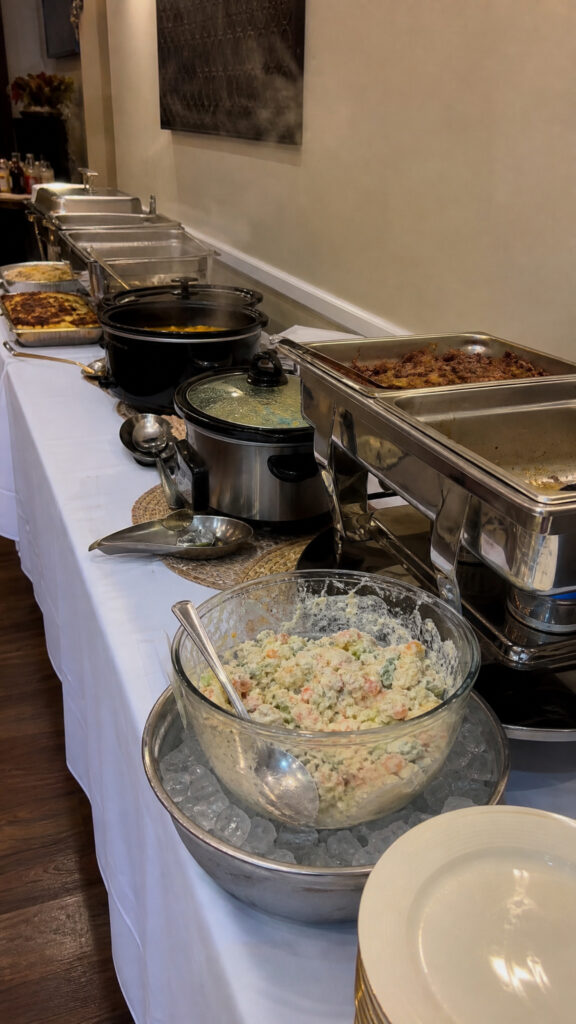
Food safety might not be the most glamorous part of planning your thanksgiving buffet table, but it’s so important, especially when you have little ones eating from it! I learned early on that keeping hot foods hot and cold foods cold requires some strategy. For hot dishes, I rely heavily on my slow cookers and chafing dishes with fuel canisters underneath. These keep everything at safe temperatures for hours, and I don’t have to constantly run back and forth to reheat things!
The two-hour rule is your friend here: perishable foods shouldn’t sit at room temperature for more than two hours total. With three boys who graze constantly and a family that tends to linger over holidays, this can be challenging! My solution is to put out smaller portions initially and keep backup dishes warming in the oven or staying cold in the fridge. When something runs low, I simply refill it with fresh, properly temperatured food. This also keeps your thanksgiving buffet table looking neat and abundant rather than picked over!
For cold items like salads and desserts that contain dairy, I use a genius trick I learned from my mother-in-law: create an ice bath! I fill a larger, shallow pan with ice and nestle my serving bowl into it. This keeps things like cranberry salad, ambrosia, or anything with mayonnaise perfectly chilled without taking up space in my already-packed refrigerator. You can disguise the ice pan with a nice tablecloth or greenery, so it still looks beautiful while being totally functional!
I also make sure to have serving utensils for every single dish, and I mean EVERY dish! This prevents cross-contamination and is especially important if you have guests with allergies. I learned this lesson when my oldest developed a nut allergy, and now I’m super careful about keeping utensils separate. Plus, having dedicated serving spoons means people aren’t using their personal forks to grab more food, which keeps everything more sanitary when you have a bunch of people serving themselves!
Set Up a Beverage Station Separately
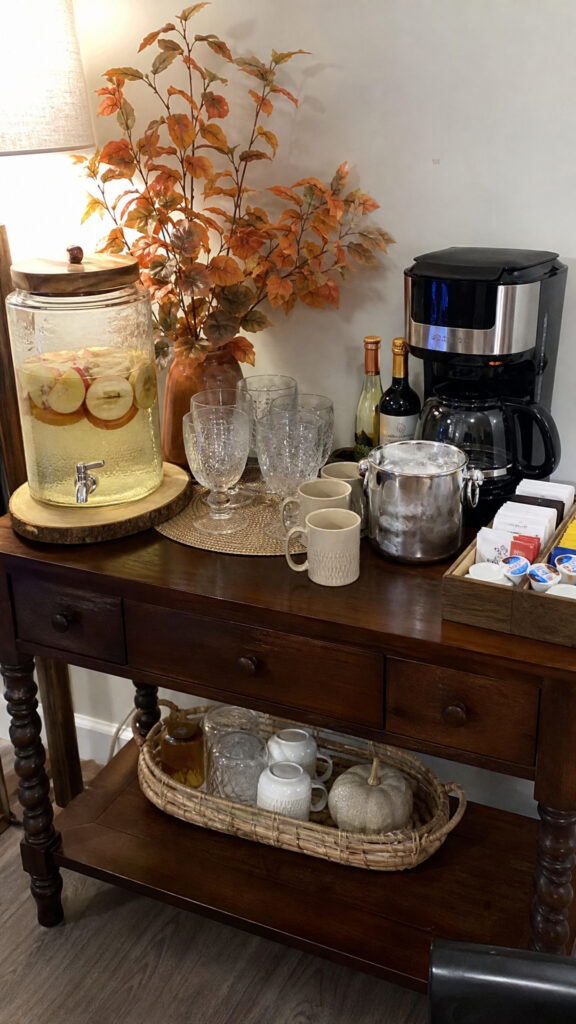
One of the best decisions I ever made for my thanksgiving buffet table setup was moving all the drinks to a completely separate station! This might seem like a small thing, but it makes such a huge difference in traffic flow and prevents congestion around the food. I typically set up our beverage station on the kitchen counter or a side table in a different area, which means people getting refills aren’t blocking others who are trying to get their first plate of food.
I include everything drink-related in this station: glasses, ice bucket, water pitcher, wine, soda, juice boxes for the kids, and coffee service. Having it all in one spot means guests can help themselves throughout the day without having to ask me where things are. My boys know exactly where to go when they need more apple juice, and I love not having to stop conversations to play bartender every five minutes!
For families with kids, I highly recommend having a lower section of your beverage station with plastic cups and juice boxes or a drink dispenser they can reach. I use a large glass beverage dispenser with a spigot for apple cider or lemonade, which my kids think is the coolest thing ever! They can fill their own cups without spilling (most of the time), and it looks really pretty too. Just make sure the dispenser is stable and not too full, because I learned the hard way that an overeager six-year-old can definitely knock things over!
Don’t forget about coffee service for the adults, especially after that big meal when everyone needs a pick-me-up before dessert! I set up my coffee maker with mugs, cream, sugar, and all the fixings right in the beverage area. This keeps the hot coffee pot away from the main food area where kids are reaching around, and it creates a nice little gathering spot for the grown-ups to chat while the kids play. Plus, having everything self-serve means I’m not jumping up every time someone wants a refill!
Prep Ahead Timeline for Stress-Free Hosting
The secret to actually enjoying your own Thanksgiving instead of being a stressed-out mess is all in the preparation, and I’ve got my timeline down to a science after years of trial and error! For your thanksgiving buffet table specifically, you can do so much ahead of time that the actual day becomes almost easy. I start my prep a full week before Thanksgiving by planning my menu, making my shopping list, and ordering any special items I need. This early planning means I’m not frantically running to three different stores on Wednesday trying to find specific ingredients!
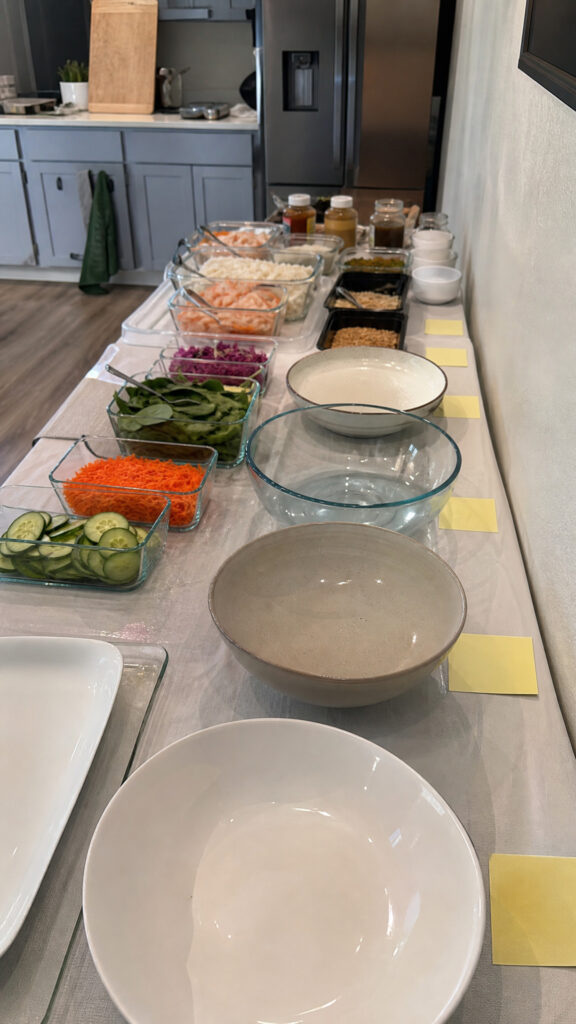
Three days before Thanksgiving, I do all my non-food prep for the buffet table. I pull out all my serving dishes, platters, and utensils, and I actually set up the entire buffet table with empty dishes. I put little sticky notes in each one saying what food will go there, which helps me visualize the layout and make any necessary adjustments. This might seem excessive, but it means on Thanksgiving Day, I just have to fill the dishes rather than figuring out logistics while juggling hot pans and hungry kids!
Two days before, I make any dishes that taste better after sitting or that can be easily reheated. Things like cranberry sauce, certain casseroles, and desserts often fall into this category. I also prep all my vegetables by washing, peeling, and chopping them, then storing them in containers in the fridge. This saves so much time on the actual day, and it means I’m not doing everything at once while my boys are trying to help (which usually means making more mess!).
The day before Thanksgiving, I set the actual table decorations and do as much cooking as possible. I roast vegetables that just need reheating, make mashed potatoes that can be warmed up, and prepare any cold sides completely. On Thanksgiving morning, I really only need to focus on the turkey and any last-minute hot dishes. Having this timeline means I’m not exhausted by dinner time, and I actually have energy to enjoy the meal with my family instead of collapsing on the couch while everyone else eats!
Your Stress-Free Thanksgiving Starts Here
Creating the perfect thanksgiving buffet table doesn’t have to be complicated or stressful, and I promise that once you try this approach, you’ll never go back to traditional sit-down service! The beauty of a buffet is that it works for everyone: the kids feel independent, the adults can take their time and go back for seconds without feeling awkward, and you as the host can actually participate in the celebration rather than spending the entire day in the kitchen. My family has embraced this style so completely that my boys now ask if we can do buffet-style for other holidays too!
Remember that the goal of Thanksgiving is spending quality time with the people you love, not creating a perfect magazine-worthy spread that leaves you too exhausted to enjoy it. Use these ideas as a starting point, adapt them to fit your family’s needs and your space, and don’t be afraid to simplify where it makes sense! Your thanksgiving buffet table is just the vehicle for bringing everyone together, and whether everything goes perfectly or you have a few mishaps along the way, what matters most is the memories you’re creating. Now go plan that buffet, prep ahead, and get ready to actually sit down and enjoy your Thanksgiving dinner this year!