This post may contain affiliate links. Read the full disclosure here.
There’s something absolutely magical about a vintage Christmas village that takes me right back to my childhood!
As a mom of three energetic boys, I’m always looking for ways to make our holiday traditions feel special and memorable, and creating a nostalgic display has become one of my favorite projects that even my kids get excited about helping with!
Your miniature village can become part of a larger holiday display with these classic vintage Christmas ideas inspired by holidays from years gone by!
A vintage Christmas village isn’t just about placing a few ceramic houses on a table – it’s about creating an enchanting winter wonderland that tells a story and becomes the centerpiece of your holiday decor! Whether you’re just starting your collection or want to elevate the pieces you already have, I’m sharing all my favorite tips for bringing timeless holiday charm into your home this season!
Finding the Perfect Vintage Pieces for Your Christmas Village
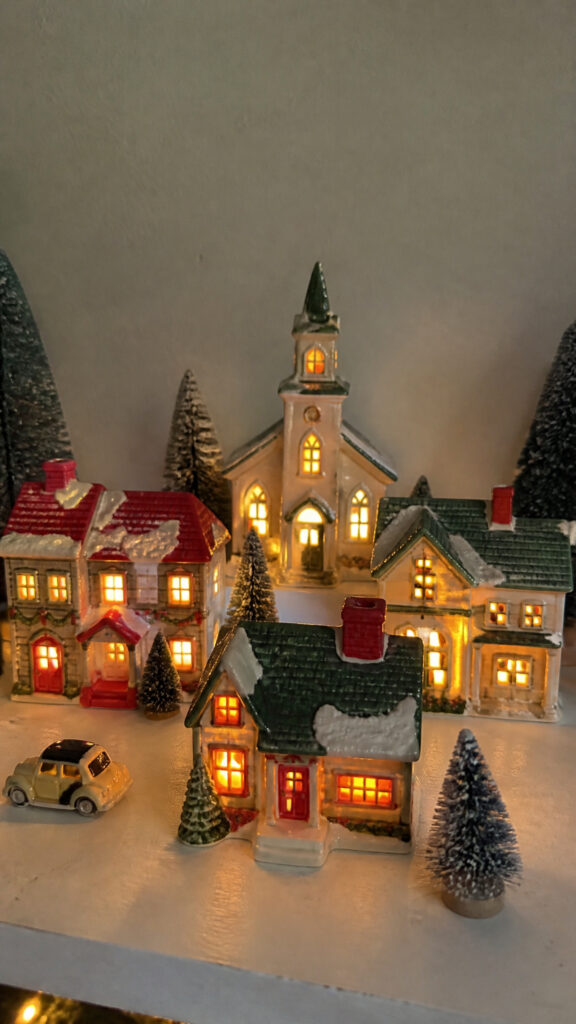




The hunt for vintage Christmas village pieces is honestly half the fun! I’ve discovered some of my absolute favorite finds at estate sales, antique shops, and even my local thrift stores. My boys love coming along on these treasure hunts – it’s like a real-life scavenger mission for them!
When you’re searching for authentic vintage pieces, look for ceramic or porcelain buildings from the 1940s through the 1980s. Popular brands like Department 56, Dickens Village, and Lemax have wonderful vintage lines that hold their value beautifully! But don’t overlook unmarked pieces either – some of the most charming buildings in my collection don’t have any brand names at all!
Online marketplaces like eBay, Etsy, and Facebook Marketplace are goldmines for vintage Christmas village pieces! I’ve scored incredible deals by searching terms like “vintage putz houses,” “cardboard Christmas houses,” and “ceramic light-up village.” Just make sure to check the condition carefully in photos and ask sellers about any damage or missing pieces!
Start with a few key buildings that speak to you rather than trying to buy everything at once! I began my vintage Christmas village with just three houses, and now several years later, I have a collection that spans our entire mantel and side table. The gradual building process makes it more affordable and lets you really curate pieces you love!
Don’t forget about the accessories! Vintage bottle brush trees, tiny figurines, miniature street lamps, and ceramic animals add so much character to your display. These smaller pieces are usually more affordable and can really bring your village to life with personality and charm!
Creating the Perfect Base and Layout
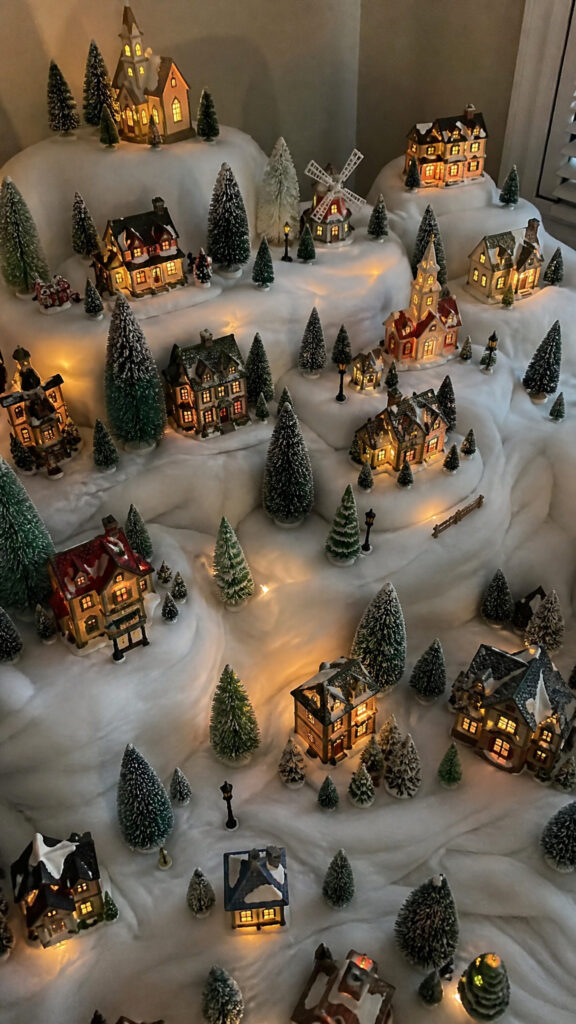
Before you start arranging your vintage Christmas village, you need to think about your base! This is the foundation that will make your entire display look polished and intentional. I learned this the hard way my first year when I just plopped houses randomly on our mantel – it looked cute but not cohesive!
White batting or quilt batting is my absolute favorite base material because it creates that fluffy, snowy look without being messy! You can find it at any craft store, and it’s reusable year after year. I layer it with different heights and create little hills and valleys for visual interest. My middle son calls it “the clouds” and he’s not wrong!
Another gorgeous option is using white fabric, faux fur, or even a white tablecloth as your base! For a more rustic vintage vibe, burlap or cream-colored fabric works beautifully too. I’ve even seen people use white fleece blankets, which is perfect if you’re working with a larger display area!
Think about creating different levels in your village layout! Use sturdy boxes, books, or wooden risers underneath your batting to create elevation changes. This adds so much visual depth and lets you showcase more pieces without everything getting lost in a flat arrangement. Plus, it makes the village feel more like an actual town with streets and neighborhoods!
Leave pathways between your buildings so it looks like little streets winding through your village! I use white glitter, epsom salt, or even silver tinsel to mark these pathways. My boys love helping sprinkle the “snow” along the roads, though I’ll admit we end up with glitter everywhere – but that’s just part of the holiday magic, right?
Lighting Your Village for Maximum Magic
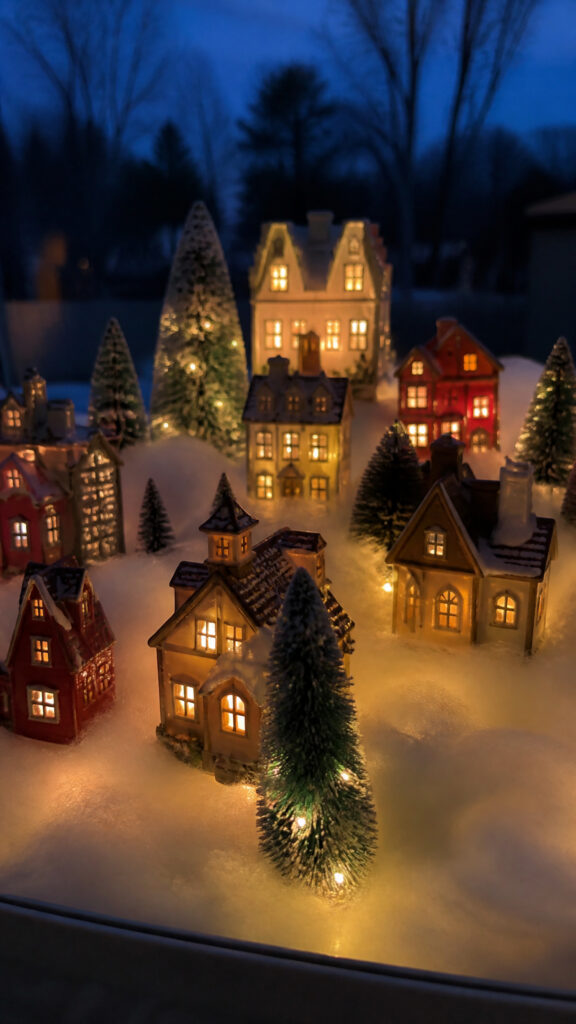
The lighting is what truly transforms your vintage Christmas village from pretty to absolutely enchanting! There’s nothing like dimming the room lights and watching your little village glow – it makes my heart so happy every single time, and my boys beg to turn it on every evening!
Many vintage ceramic pieces come with built-in lighting, which is wonderful! Just make sure to check that the wiring is safe before plugging them in. I always inspect cords for fraying or damage, and I replace any questionable bulbs with new C7 bulbs that you can find at hardware stores. Safety first, especially with three curious boys running around!
String lights are your best friend for adding extra ambiance! I weave warm white fairy lights throughout the batting under my village, which creates this gorgeous soft glow that looks like the snow itself is sparkling. Battery-operated LED string lights are perfect because you don’t have to worry about cords running everywhere!
Don’t forget about uplighting! Small LED tea lights or puck lights placed strategically behind buildings can create beautiful silhouettes and shadows. I tuck them behind larger pieces to cast a warm glow that makes the entire display feel more dimensional and alive!
For an extra vintage touch, consider adding a few flameless candles in mercury glass holders or vintage candlesticks near your village! The flickering effect adds movement and warmth to your display. Just keep them away from the fabric and batting – even flameless candles can get warm!
Adding Authentic Vintage Accessories and Details
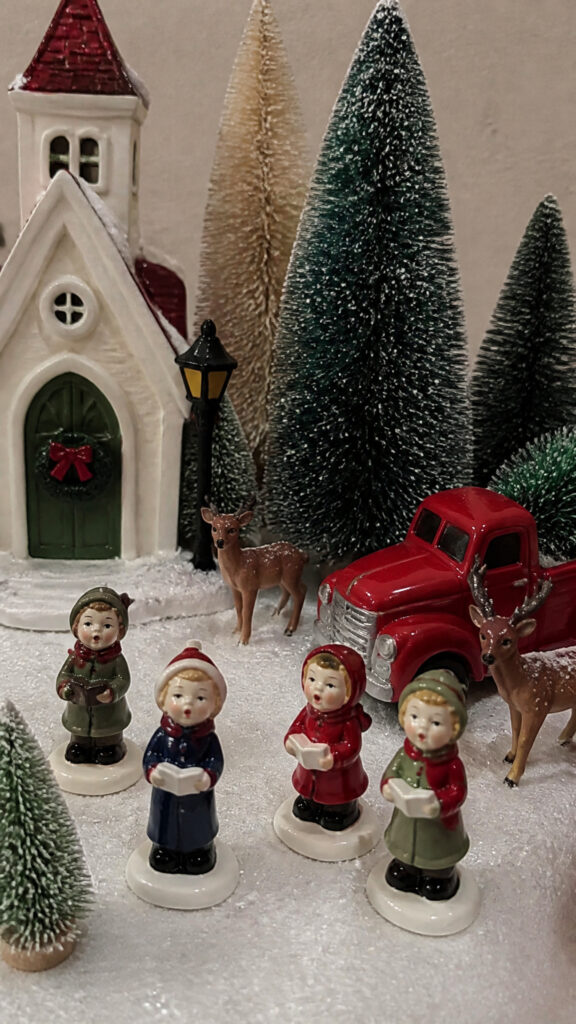
The details are what make your vintage Christmas village feel like a real, lived-in town! This is where you can really let your creativity shine and make your display uniquely yours. I love adding little surprises that my boys discover each time they look at the village!
Bottle brush trees are absolutely essential for an authentic vintage look! These classic sisal trees came in all sizes and colors during the mid-century era. Look for ones with snow tips or in traditional green, white, or even pastel colors. I cluster different sizes together to create little forests between buildings, and it adds so much texture and nostalgia!
Vintage figurines bring your village to life with activity and story! Look for ceramic or plastic people in winter clothing, children sledding, carolers, shoppers with packages, and even tiny animals. I found a set of miniature deer at an estate sale that my youngest son is obsessed with – he rearranges them constantly to create different “scenes”!
Miniature vehicles add incredible charm to a vintage Christmas village! Old-fashioned cars, delivery trucks, and even tiny trains can be positioned on your “streets” to show movement and life. I have a small red truck carrying a bottle brush tree that always gets compliments – it’s those little touches that make people smile!
Don’t overlook the power of natural elements! Pinecones, small branches with artificial snow, and even tiny wreaths made from greenery add organic texture. I hot glue mini wreaths to the fronts of some buildings, and it makes them feel so much more festive and detailed. Craft stores sell tiny wreaths, or you can make your own from floral wire and greenery picks!
Vintage-style signs, lamp posts, and fencing complete the authentic look! You can find reproduction pieces that match the vintage aesthetic perfectly, or get crafty and make your own. I printed tiny vintage-looking shop signs and glued them to toothpicks to create little storefronts, and my boys thought I was the cleverest mom ever!
Choosing the Perfect Display Location
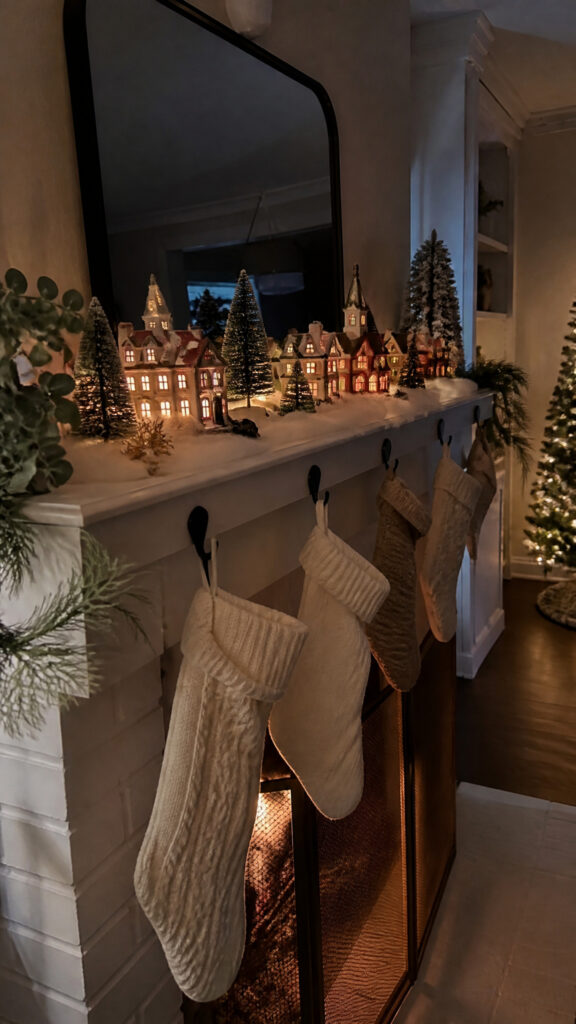
Where you display your vintage Christmas village makes a huge difference in how much you’ll enjoy it throughout the season! You want it somewhere visible where your family will see it daily, but also somewhere safe from little hands and curious pets. With three boys, I’ve learned this lesson the hard way!
Mantels are the classic choice for a vintage Christmas village, and for good reason! The elevated display puts your village at eye level and makes it a natural focal point in your room. I love how the fireplace below adds extra warmth and coziness to the whole scene. Just make sure nothing is too close to actual flames if you use your fireplace!
Console tables, sideboards, and buffets offer wonderful long, flat surfaces perfect for sprawling village displays! I’ve taken over our dining room sideboard for the past two years, and it’s become the backdrop for so many family photos. The length allows you to really create a substantial village with multiple neighborhoods and scenes!
Window sills can be magical for displaying a smaller vintage Christmas village! The natural light during the day shows off the details, and the glow from the lit buildings at night creates the prettiest view from outside. Our neighbors have commented on how charming our front window looks with our little village scene!
Bookshelves offer a unique opportunity to create a multi-level village display! You can dedicate several shelves to your collection and arrange buildings at different heights naturally. I’ve seen displays where each shelf represents a different “street” in the village, which is such a creative approach!
For safety with young children, consider displaying your vintage Christmas village on top of a tall dresser, china cabinet, or even a high shelf! My boys can look and enjoy without being able to grab, which has saved many ceramic buildings from disaster. You can still make it interactive by letting them help arrange pieces before you move it to its high perch!
Mixing Vintage and New Pieces Seamlessly
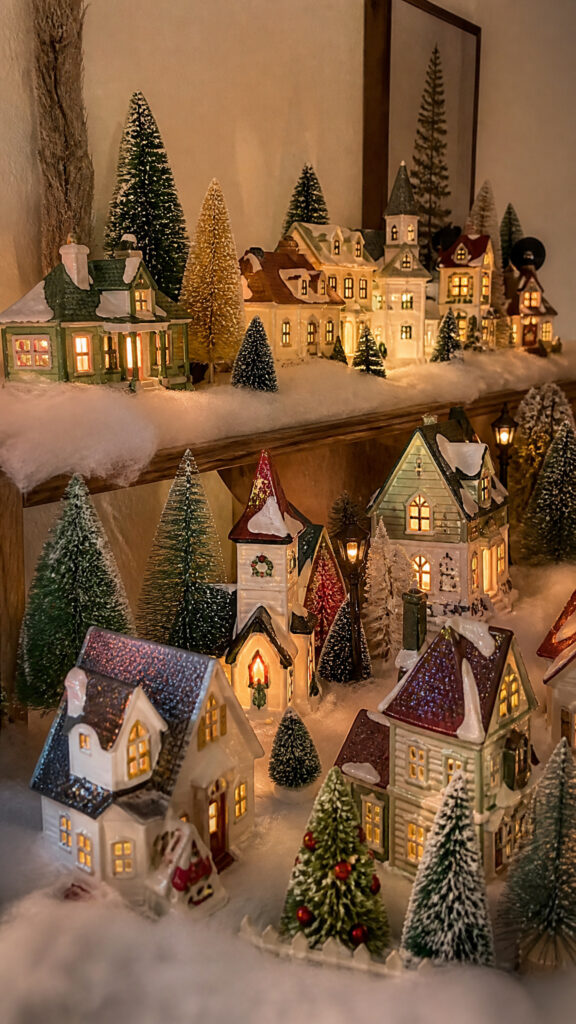
You don’t have to have all authentic vintage pieces to create a stunning vintage Christmas village! I’ve learned that mixing carefully chosen new pieces with vintage finds creates a fuller, more interesting display without breaking the bank. The key is choosing new items that complement the vintage aesthetic!
Look for reproduction vintage-style buildings from current retailers! Many companies now make pieces specifically designed to have that nostalgic mid-century look. Target, Hobby Lobby, and even HomeGoods often carry affordable options that blend beautifully with authentic vintage pieces. Just stick to similar color palettes and architectural styles!
Modern LED buildings can work in a vintage display if you choose wisely! Look for pieces with classic architecture, muted colors, and traditional details rather than overly modern or cartoonish designs. The lighting might be newer technology, but if the style reads vintage, it’ll work perfectly in your collection!
DIY projects can fill gaps in your collection beautifully! I’ve painted plain ceramic houses to match my vintage aesthetic, added glitter to new pieces to give them that retro sparkle, and even distressed newer items slightly to help them blend. My boys love helping with these craft projects – it’s become a holiday tradition!
When mixing eras, pay attention to scale and color! Vintage pieces tend to be smaller and have more muted, pastel colors compared to some modern oversized, brightly colored options. Keep your village cohesive by choosing pieces that are similar in size and stick to a coordinating color scheme of whites, creams, pastels, and traditional reds and greens!
Caring for and Storing Your Vintage Collection
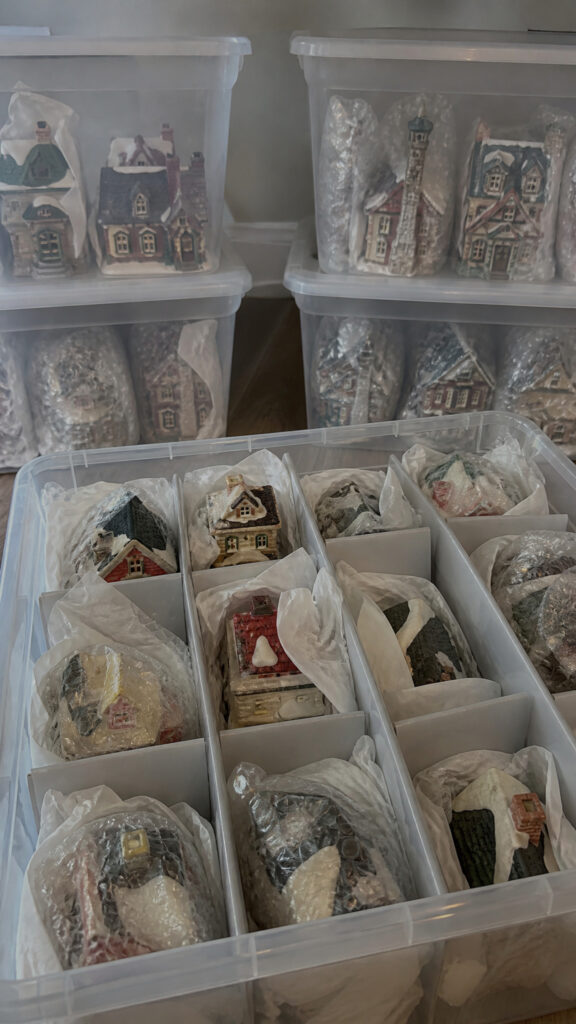
Taking proper care of your vintage Christmas village ensures you’ll enjoy these treasured pieces for many years to come! I’ve learned some valuable lessons about protecting my collection, especially after one heartbreaking incident involving a rogue soccer ball and my favorite church building!
Dust your village regularly throughout the season using a soft paintbrush or microfiber cloth! Vintage ceramic pieces can be delicate, so gentle cleaning is key. I do a quick dusting every few days to keep everything looking fresh, and it only takes a couple of minutes. My oldest son has actually started helping with this – he’s surprisingly gentle!
When the season ends, proper storage is crucial! Wrap each piece individually in bubble wrap or acid-free tissue paper. I save all the original boxes when possible, but for pieces without boxes, I use plastic storage containers with dividers. Label everything clearly so you know what’s inside each box next year!
Store your vintage Christmas village in a climate-controlled area! Extreme temperatures and humidity can damage vintage ceramics, paint, and electrical components. I keep mine in plastic bins in our bedroom closet rather than the garage or attic. It takes up space, but these pieces are worth protecting!
Take photos of your display before taking it down! This is such a helpful tip for remembering how you arranged everything. I take pictures from multiple angles, and then next year, I can either recreate the same look or use the photos as inspiration for a new layout. Plus, it’s fun to see how your collection grows over the years!
Check electrical components before storing and again before setting up! Replace any burned-out bulbs, and make sure cords are in good condition. I keep a small bag of extra bulbs with my village storage so I’m always prepared. A little maintenance goes a long way in keeping your vintage pieces working beautifully year after year!
Bringing Your Vintage Christmas Village Dreams to Life
Creating a vintage Christmas village has become one of my absolute favorite holiday traditions! There’s something so special about curating a collection that grows and evolves each year, and watching my boys’ faces light up when we set it up together makes all the hunting, arranging, and decorating completely worth it. Your village doesn’t have to be perfect or expensive – it just needs to bring you joy!
Remember that building your vintage Christmas village is a journey, not a race! Start with a few pieces that speak to your heart, add to your collection gradually, and most importantly, have fun with the process. Whether you’re displaying three houses or thirty, the magic is in the memories you create while setting it up and enjoying it throughout the season. Here’s to creating timeless holiday charm that your family will treasure for generations to come!