This post may contain affiliate links. Read the full disclosure here.

Cleaning shower grout used to feel like an endless battle in my house. That all changed once I stumbled upon the best way to clean shower grout!
As a mom of three, keeping things sparkling clean is already a full-time job!
But scrubbing grout?
It always seemed impossible to get those stubborn stains out no matter how hard I tried. That’s why I’m so excited to share what actually worked for me!
If you’re in the mood to organize and deep clean, this guide to stress-free home organization will totally inspire you!
It’s a total game-changer and saved me so much time and frustration!
If you’ve been dealing with dull, grimy grout, you’re in the right place—I’ve got you covered!
Scroll down for my exact inexpensive cleaning method to get my shower grout looking sparkly white!
Don’t forget! Pin this post to Pinterest to read again later!


Why Shower Grout Gets Dirty
If you’ve ever wondered why shower grout seems to get dirty so fast, you’re not alone!
I’ve been there, scrubbing away, only to see those grayish stains or funky spots come back like they’re on a mission.
Let’s break down exactly what’s happening so it all makes sense.
Mold Growth in Humid Areas
Showers are basically like mini saunas, right?
The hot steam from your shower fills the space, and that moisture doesn’t go away quickly.
Grout, being porous, soaks up some of that humidity. This (unfortunately) creates the ideal conditions for mold to thrive.
Mold loves two things: warmth and moisture.
And let’s face it—our showers have both!
Once mold starts sneaking its way into your grout, it clings on tight.
You might notice black or greenish spots that just won’t budge. It’s not just gross to look at—mold can even have a musty smell.
The tricky part? Even if you dry the tiles, grout often stays damp.
Mold feels like it hit the jackpot! Without proper cleaning (hey, maybe that’s why you’re here!), it grows fast.

Soap Scum Build-Up
Soap is supposed to clean, but did you know it can actually make things dirtier in your shower?
Hear me out.
Traditional soap bars and even body washes leave behind this sticky residue when mixed with water.
That residue, known as soap scum, likes to settle in and stick to grout lines.
Over time, this scum combines with minerals in hard water, creating a stubborn film. It’s like a magnet for dirt, oils, and more grime.
That once-white grout?
Now it’s looking dull, stained, and kinda gross.
Here’s the kicker—soap scum isn’t just annoying.
It creates a rough surface that traps even more gunk, making regular cleaning harder. No wonder grout starts looking worn down so quickly!
Now that we know what causes the mess, the good news is there’s an easy solution coming up.
Stay with me!
Also, I put together this Ultimate Home Cleaning Planner to help make cleaning a whole lot easier (and way more satisfying!).
It’s packed with helpful checklists and routines to keep your home looking its best. Snag your copy below for a low cost today and get started!
Don’t miss out—grab your copy below for a low cost today!
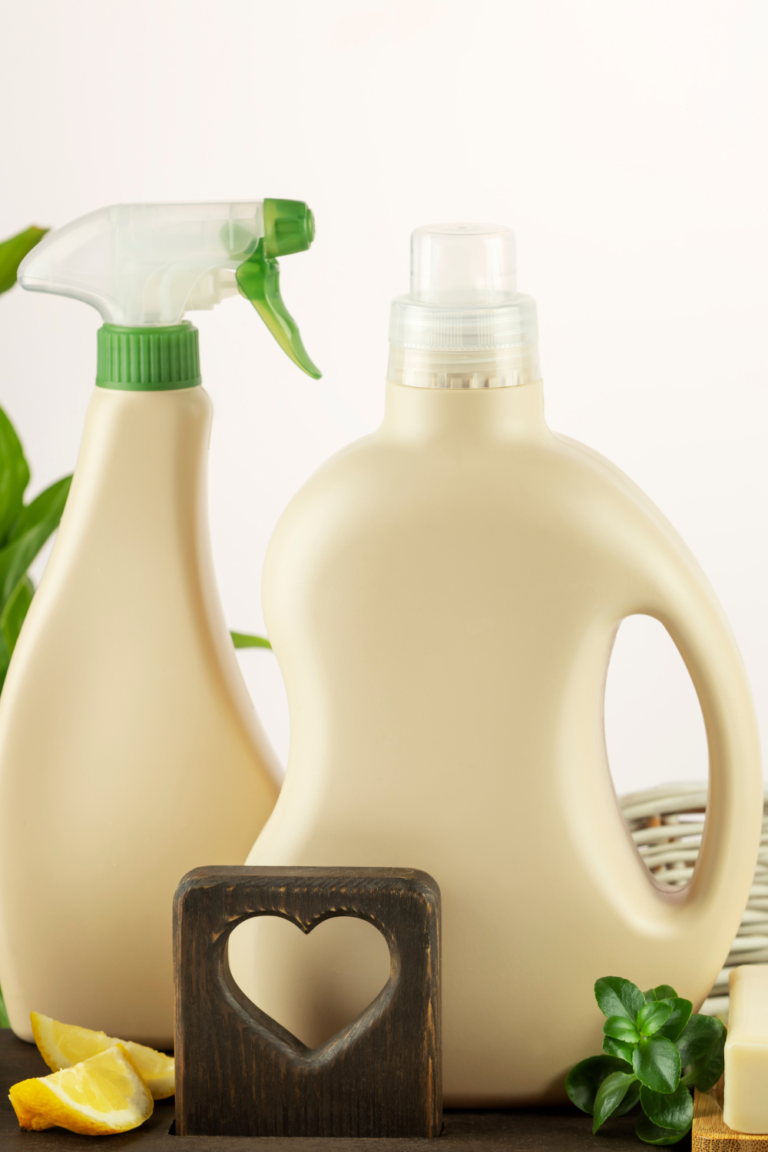
Why Use Toilet Bowl Cleaner for Grout?

When I first heard about using toilet bowl cleaner for grout, I was skeptical.

Toilet cleaner? For my shower?
But trust me, it works wonders!
Once I gave it a shot, the results spoke for themselves.
Let me explain why this budget-friendly hack is a lifesaver for moms like us.
The Bleach Factor
The secret sauce here is bleach, and it’s a powerhouse when it comes to cleaning. Bleach isn’t just for whitening clothes—it’s amazing for grout, too!
Grout stains are usually caused by mold, mildew, and soap scum building up over time. They’re not just surface-level messes. Grout is porous (kind of like a sponge!), so it absorbs dirt and moisture.
That’s why stains stick so stubbornly.
When you use a bleach-based toilet bowl cleaner, it penetrates deep into the grout. It breaks down tough stains, even the ones that seem impossible to scrub away.
Plus, bleach doesn’t just clean; it disinfects.
It kills the mold and bacteria hiding in your grout, leaving it sanitary and fresh. Best of all, it restores grout to that beautiful white color that makes your shower look brand new.
For moms juggling a million things, knowing you’re getting a deep clean while saving time is a win-win, right?
Cost-Effective Solution
Let’s be real—fancy cleaning products can cost a small fortune. I’ve spent way too much money on grout cleaners that didn’t even deliver results. That’s where toilet bowl cleaner comes in as a total budget-friendly hero.
A bottle of toilet bowl cleaner with bleach is super affordable.
You probably already have it sitting under your sink!
Why spend more on overpriced grout cleaners when this one hack does the same (or better) job for a fraction of the price?
It’s also versatile, so you get more bang for your buck. Use it for grout, toilets, and even some tough tile stains. That’s one less specialty cleaner you need to buy, which means more savings for, oh, I don’t know… groceries, soccer cleats, or the 10th birthday gift this month!
If you’re anything like me, saving money while keeping the house clean feels like a small mom victory. And hey, every little win counts!
When I discovered how great toilet bowl cleaner works on grout, it felt like a parenting hack that deserved a medal. It’s affordable, effective, and makes a frustrating chore so much easier!
Step-by-Step Guide to Clean Shower Grout
Shower grout doesn’t have to be a headache anymore. If you’re tired of scrubbing endlessly with no luck, follow this simple method using toilet bowl cleaner bleach. It’s quick, effective, and seriously satisfying. Let’s break it down step by step!
Gather Your Supplies

Before you start, make sure you have everything you need within reach. This will save time and keep the process smooth. Here’s your must-have list:
- Toilet bowl cleaner with bleach (any brand works, just make sure it’s bleach-based!)
- Rubber gloves (to protect your hands from the cleaner – I am sensitive to Latex gloves so I use these gloves and love them)
- Scrub brush or old toothbrush (for those tight grout lines)
- Bucket or large plastic cup (for rinsing)
- Sponge or microfiber cloth (to wipe down the area afterward)
- Safety goggles (to protect your eyes)
- Ventilation: Open a window or turn on the bathroom fan for airflow.
Got everything ready?


Great! Let’s get that grout sparkling!
Apply the Cleaner
Now it’s time to put the toilet bowl cleaner to work! Start by putting on those gloves—this stuff is strong, and you don’t want it on your skin.
Next, apply the cleaner directly onto the grout lines. The nozzle on most toilet cleaners makes this super easy. Just squeeze gently and let the cleaner flow along each grout line. There’s no need to drench it—just enough to coat the grout is perfect.
Be thorough! If you skip spots, those areas won’t get cleaned. If your grout is extra grimy, apply a little extra in those stubborn areas.
Let It Sit
Here’s the part where you don’t have to do anything—just let the cleaner sit and do its magic!
Why does this step matter?
Giving the bleach time to soak in breaks down stains, mold, and soap scum deep in the grout. It’s like letting a marinade soak into food—skip this, and you won’t get the best results.
I recommend letting it sit for 10 to 15 minutes. Use this time to check on the kids or have a well-deserved coffee break. Just don’t forget to come back!
Scrub the Grout
Once the cleaner has had a chance to work, it’s scrubbing time. This is where the magic happens!
Grab your scrub brush or old toothbrush, and focus on the grout lines.
Work in small sections, using gentle, circular motions to loosen dirt and stains.
If you scrub too hard, you could damage the grout, so stay firm but not aggressive.
You’ll notice the grime lifting almost immediately. It’s super satisfying to see those stains disappear! If any areas still look dirty, don’t panic—just go over them again.
Rinse Thoroughly
This part is key—don’t skip it!
After scrubbing, you need to rinse away the toilet bowl cleaner completely. Leaving any residue behind could damage your grout over time.
Use a bucket or plastic cup to rinse the grout lines with clean water. Make sure you rinse from top to bottom so the cleaner doesn’t drip onto spots you’ve already rinsed.
Once everything is rinsed, grab your sponge or microfiber cloth and give the area a final wipe-down. This helps remove any excess cleaner and leaves your tiles looking shiny and fresh.
And there you have it—clean, bright grout that looks brand new! Keep going—you’re doing amazing!
Tips for Maintaining Clean Grout

Once you’ve worked hard to get that shower grout looking bright and fresh, the next challenge is keeping it that way! Regular upkeep makes all the difference, and trust me, it’s so much easier than waiting for things to get grimy again. A little prevention goes a long way—let me show you how.
Regular Cleaning Schedule
Let’s face it: if we wait too long between cleanings, the grime creeps back in.
I’ve learned the hard way that setting a regular cleaning schedule is key to maintaining clean grout.
Nobody wants to spend hours scrubbing stubborn stains that could’ve been avoided!
It doesn’t have to be a big ordeal, either. Try giving the grout a quick clean once a week. A damp sponge with a mild cleaner can do wonders for keeping those lines looking fresh.
For me, it’s just part of my Sunday bathroom routine now. I tackle it while the kids are busy playing so there’s no interruption!
If you’re crunched for time (or just don’t feel like putting in extra effort—hello, we’re human!), even a fast wipe-down after a shower can help. The leftover steam makes it easier to loosen up any soap residue or dirt. It’s like using the shower’s own humidity in your favor—total win!
Want an extra boost? Keep a small scrub brush in the bathroom. A quick swipe here and there keeps stains from building up, and you’ll thank yourself later.
Use a Grout Sealer
After putting in all that effort to clean your grout, why not protect it?
I’ll admit, I didn’t know grout sealer was a thing for way too long, but now I swear by it!
Sealing grout helps block moisture and stains, which is the main reason grout gets so gross in the first place.
Here’s how it works: grout sealer creates a barrier on the surface, kind of like a raincoat for your grout. It keeps water (and all the dirt that comes with it) from soaking in. Without a sealer, grout is like a sponge. And nobody wants to clean a sponge that’s been soaking up grime for weeks, right?
Applying it is super simple. Once the grout is completely clean and dry, just brush or spray on the sealer.
Let it dry, and you’re done!
I usually reapply every six months or so, or whenever I notice the grout isn’t looking as fresh as it should.
This little extra step is a total time-saver in the long run. Plus, you’ll spend way less time scrubbing your grout because stains won’t settle in as easily. Less scrubbing means more time for coffee and Netflix—yes, please!
Safety Precautions
Before tackling your shower grout with toilet bowl cleaner bleach, let’s talk about safety first.
I get it—cleaning can feel like a race to the finish line, especially when you’re juggling a million other things. But trust me, taking a few precautions is so important. It keeps you safe and makes the whole process way less stressful!
Ventilation is Key
First things first—make sure your bathroom has plenty of fresh air while you’re cleaning! This step is super easy to overlook, but it’s a big deal.
Bleach-based cleaners can release strong fumes, and you don’t want to spend your time hunched over grout feeling lightheaded. No one needs that headache—literally!
So, what can you do?
- Open a window: Even a small crack helps air circulate.
- Turn on the exhaust fan: If your bathroom has one, let it run the entire time.
- Prop open the door: This adds just a little more airflow to keep things fresh.
I usually do all three, especially if the kids are running around nearby. It only takes a second, but it makes a world of difference. Your lungs will thank you!
Protective Gear
Let’s talk about gear—don’t skip it! I know it might feel like overkill, but trust me, it’s better to be safe. Grimy grout is bad enough; you don’t want irritated skin or eyes in the mix.
Here’s what I always grab before I start:
Rubber gloves: These are 100% non-negotiable. Toilet bowl cleaner is strong, and you don’t want that stuff touching your skin. Plus, gloves save your hands from drying out—you’ll still have soft, mom-ready hands when you’re done!
Safety goggles: It might seem silly, but goggles are a lifesaver if there’s any splashing. The last thing you want is bleach in your eyes. No one has time for an emergency rinse session, right?
If you don’t have safety goggles handy, at least wear glasses or sunglasses as a quick fix.
It’s all about keeping yourself comfortable and safe so you can focus on the job. The way I see it, cleaning already takes enough energy—why deal with extra hassles?
Conclusion
Cleaning shower grout doesn’t have to be frustrating or time-consuming! Using toilet bowl cleaner with bleach is an affordable, effective hack that delivers real results.
It’s simple to use, cuts through grime like magic, and transforms your shower grout without endless scrubbing. Plus, you probably already have it sitting under your sink!
Give it a try and see how satisfying it feels to reclaim your shower’s sparkle. Trust me, you’ll wonder why you didn’t do this sooner!
Got any other grout-cleaning tips that work wonders?
Share them—I’d love to hear!
More to Read
You may also enjoy reading these posts too:
Free Printable Cleaning Schedule for Your Home